The Most Creative Ways to Fold Dinner Napkins and Impress Your Guests!

When you’re getting ready to fold your dinner table for an upcoming event, there are ways that you can dress it up. Apart from buying chargers, new cutlery, or centerpieces, you can easily fold napkins in a different way. This can help to elevate the entire appeal of the table without having to invest any extra money into place settings.
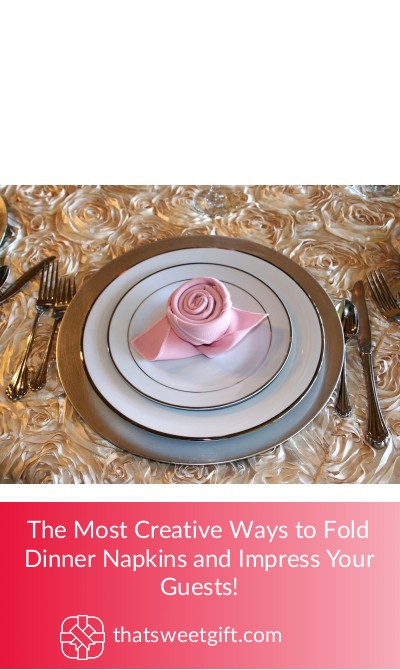
All you have to do is spend a little bit of extra time getting everything ready. Below are our favorite tutorials and videos to learn how to master the art of creative napkin folding!
1. The French Pleat
If you’re looking for a way to create a classic appeal for your dinner table that accentuates class, this is the best tutorial. The French pleat is very interesting and cozy, as it gives each piece of cutlery its own little compartment. Plus, it’s rather easy to do with a traditional square napkin.
- Step 1: Take the square napkin and fold it in half vertically. Then fold it in half a second time, horizontally. At this point, you should have a square.
- Step 2: Take the first three top right corners of the square and fold them down to the bottom left corner of the napkin, leaving one corner behind.
- Step 3: Grab the third folded corner from the left and create a smaller fold by bringing the corner to the edge of the second folded corner. Repeat this process for all of the folds that you brought to the bottom left corner.
- Step 4: Fold the entire napkin in half again, vertically. This should leave you with three separate folded compartments. One for your fork, one for your knife, and one for your spoon.
2. Bowtie Napkin Fold
One of the folding tutorials we love the most is the bowtie fold because it’s adorable. In fact, the process is so simple that even your kids can do it when they’re setting the table. The only thing is that you’re either going to need a napkin ring or a piece of ribbon, which you likely already have around your house.
- Step 1: Fold your napkin vertically until you’ve achieved a tall rectangle. Ideally, the napkin should be a few inches in width, as this will give you the plushest bowtie possible. You then fold the napkin horizontally to create a thick square.
- Step 2: Taking your napkin ring or ribbon, tie it around the center of the rectangle. The grip should force the opposing sides of the napkin to fan out into a bowtie shape. You can easily fluff out the ends to make it plusher.
3. Envelope Napkin Fold
As another classic folding option for a more elegant dining table, the envelope napkin fold is a great choice. It can also be useful for an outdoor barbecue or birthday party if you decide to use a lesser quality napkin. In fact, it’s one of the best tutorials to do with any material and any sized napkin.
- Step 1: Fold your napkin into a square. Depending on the size of the napkin you’re starting with, this might take a couple of additional folds.
- Step 2: Once you’ve achieved a square, it’s time to create the first part of the envelope shape. Turn the square so that it makes a diamond shape and take the top corner, folding it into the middle. Then take the bottom corner and fold it upwards into the middle as well. The bottom corner should always be resting on top of the top corner when they meet in the center of the napkin.
- Step 3: Take the left corner of the diamond-shaped napkin and bring it into the center so that it falls on top of the other two corners. To help the napkin maintain this shape, you can use a pin or press the napkin together firmly. At this point, you’ve achieved your final shape and you can slide your cutlery into the main compartment.
4. Single Pocket Fold
Before you start delving into more complicated napkin folds, it’s always recommended that you start with the single pocket fold. If you’ve ever eaten out at a restaurant or attended a wedding, this is likely the fold that they used. This is because it’s not too difficult to master but it also sets a stunning appeal for the dinner table.
- Step 1: Start by folding your napkin in half vertically. Once you have achieved a tall rectangle, take the bottom 2 inches of the napkin and fold it upwards. From the bottom of that fold, fold the napkin again, an additional 2 to 3 inches.
- Step 2: For the final fold, take both edges of the napkin and wrap them underneath. This should leave you enough space on the top to fit three pieces of cutlery. However, if you need space for additional dinnerware, you can always adjust the width of the pieces you folded under the main compartment.
5. Knotted Napkin
As the most modern method of displaying napkins at a dinner table, we have the knotted napkin. It’s also the easiest way that we could find, as all you have to do is tie a knot in the center of the entire napkin. To make it look a little more luxurious, you can place the napkin on the side of the plate with your place card in the center of the plate. We also recommend fluffing out the loose edges so that it looks a little more formal.
What we love the most about the knotted napkin is you can get an idea of who used their napkins and who didn’t at the end of the dinner. This will allow you to easily decide which ones need to be washed and which ones can be stored away for your next dinner party.
Final Thoughts
There are an endless number of ways to learn how to fold napkins, especially if you’re trying to get a little more creative. Although we’d all like to learn the more advanced methods, such as crafting Christmas tree napkins or turkey napkins, the best ideas are always the simplest. With the help of these tutorials, everyone in the family can learn how to easily create a more interesting dinner table.
Pin for later