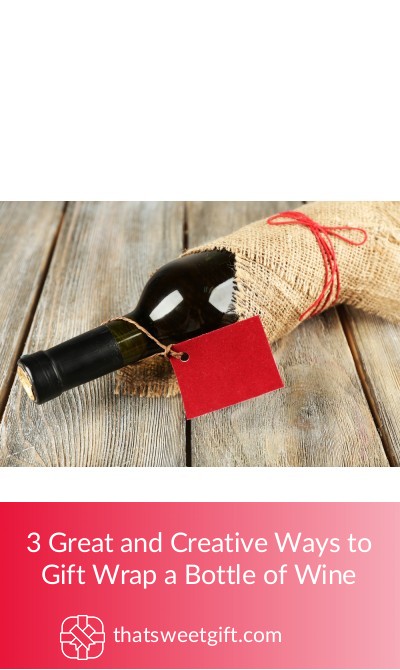
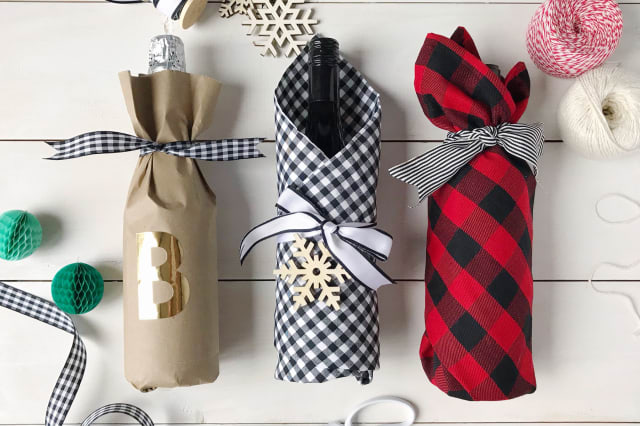
3 Great and Creative Ways to Gift Wrap a Bottle of Wine

Giving a bottle of wine in a traditional wine gift bag isn’t as iconic as you’d hope. The recipient is going to be more interested with what’s inside of the bag, but giving a gift is likely 20% about presentation as well! If you’re really trying to make the best impression, expressing your creativity when wrapping is of the utmost importance.
With the help of these fantastic tutorials, you can create new and innovative ways to gift wrap a bottle of wine. Our favorite part is that each tutorial takes a few minutes and a couple of things that you may already have around the house.
1. Gnome Wine Toppers
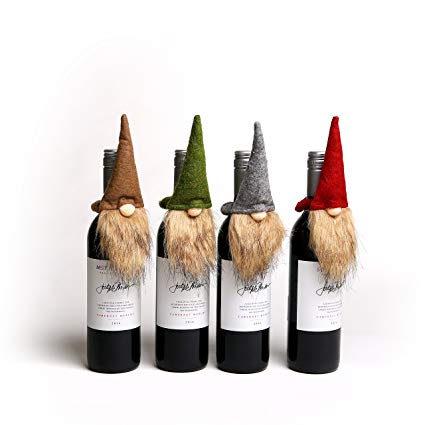
If you’re looking for something that is sure to make the recipient laugh and make your present stand out, these are a great option. Gnome wine toppers add a certain flair to an ordinary bottle of wine. They help to transform an ordinary gift into something more interesting, and we wouldn’t be surprised if they leave the decorations instead of opening the bottle! To make the gnome wine toppers, simply follow these steps:
Step 1: Gather your materials
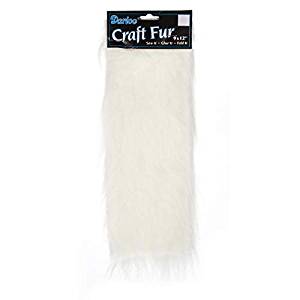
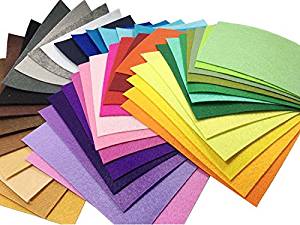
You’re going to need faux fur, a glue gun, several sheets of felt, and small wood furniture buttons. The faux fur is what we’ll be using to create the beards and the felt is what will be used for the hats.
With that being said, a single sheet will cover a single bottle, so depending on the number of bottles you’re gifting, buy the felt accordingly.
Finally, the wood furniture buttons are what we’re going to use for their adorable noses.
Step 2: Preparing the hat
We’re first going to begin with the gnome’s hat. Take the felt and wrap it into a conical shape, using the glue gun to seal the seams as you wrap. Make sure pay close attention to the size of the cone and the size of the bottle. We recommend doing a test-wrap around the bottle before gluing it together. Once the hat is glued and dry, use scissors to cut any excess pieces that might be hanging around.
Step 3: Cutting the faux fur
As the faux fur is going to symbolize their beards, you’re going to want to cut it into a triangle shape. Using your glue gun again, attach the fur to the inside of the cone hat and allow time to dry.
Step 4: Adding the nose and finishing touches
The final step is to take the wood furniture button and glue it onto the bottom of the hat at the front. This will give it a sturdy place to latch onto. Once the glue has dried and all of the pieces are secure, place the hat over the wine bottle and you’re good to go!
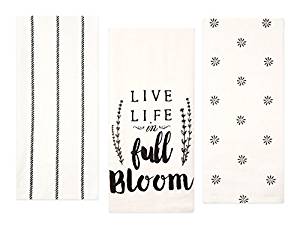
2. Tea Towel Wine Wrap
What could be better than giving someone a gift that has two items in one? Instead of spending the money on a wine gift bag, you could give the recipient a tea towel that they can display in their kitchen as well!
The best part is that you can find tea towels relatively anywhere, including the dollar store. However, if you want to make the gift more luxurious, we recommend going to a home décor store and finding a beautifully designed tea towel. For this project, you’ll need only a couple of items that you surely already have at home, apart from the towel and the bottle of wine.
Step 1: Gather your materials
For this task, all you’re going to need is a piece of ribbon, a tea towel, and scissors.
Step 2: Wrapping the wine
Take your tea towel, open it fully, and lie it down vertically on a flat and sturdy surface. Take the bottom of the towel and fold it up so that the corners are touching each other. Then take the wine bottle, and put it in the lower left corner of the folded towel. Gently roll the bottle until you’ve made it to the end of the tea towel. If you’re concerned about the towel unraveling, use a cute pin to stick the overlapped fabric to itself.
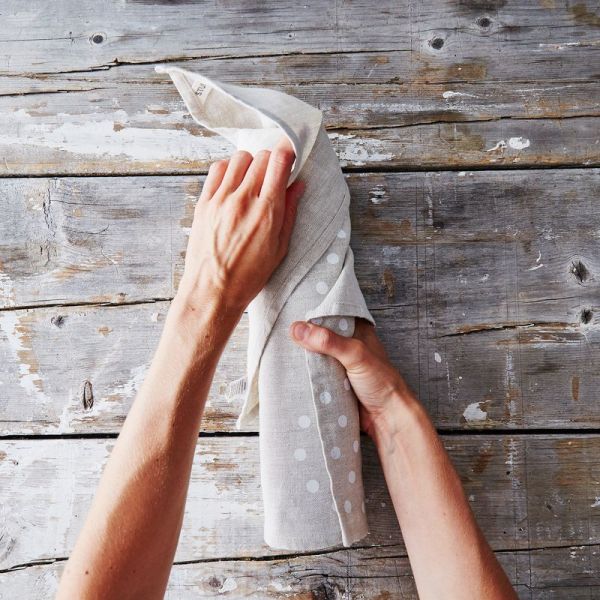
Note: If you want to make the best impression possible, we recommend gently steaming or ironing the tea towel before wrapping. This will help to get rid of any extra creases and give you a more classic final result.
Step 3: Finishing touches
Finish the look of the wrapped bottle with a ribbon of your choosing. Tie the ribbon around the neck of the wine and finish the knot with a beautiful bow.
3. Wine Basket
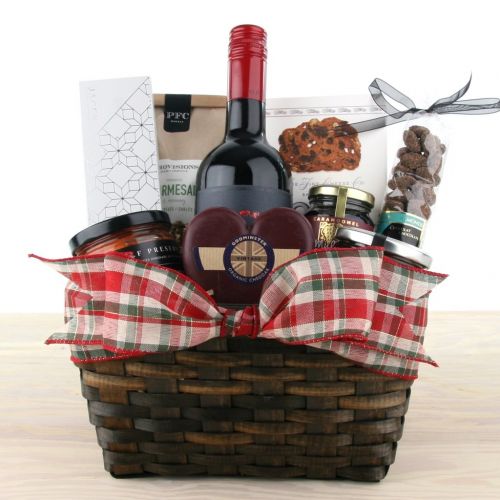
Instead of literally wrapping wine, why not take it to a whole other level? This is a great idea if you’re looking for a gift for someone that should be a little more expensive than under $20. A wine basket is a fantastic gift for someone who needs to take a little more time out of their day to relax, especially when you make it at home. For this project, you’re going to need a few more items than the other projects on this list.
Step 1: Gather your materials
First, you’re going to want to find the right basket to use and some ribbon. You’re then going to want to buy a variety of smaller items to fill the basket with. We recommend sticking to a theme, such as chocolates, spices, or even spa items. For this tutorial, we’ll work with spa items.
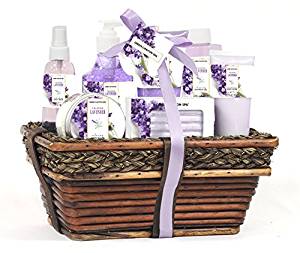
Step 2: Filling the basket
Taking all of the smaller gifts that you have found, arrange them in the basket around the wine. You’re going to want to make the wine the focal point of the gift and so it should be in the middle of the basket. To prevent breakage, you might also want to consider using tissue paper as useful filler material.
Step 3: Finishing the basket
Once everything has been arranged and is in place, use the ribbon to tie either around the handle or the side of the basket. This adds an extra flair that shows you put a lot of thought and effort into the gift.
Final Thoughts
By taking your gift a step further, you can transform an ordinary bottle of wine into a gift that people want to open. No matter if you want a more crafty project, such as the wine gnome, or a useful gift, such as the wine basket, there are plenty of options.
Pin for later