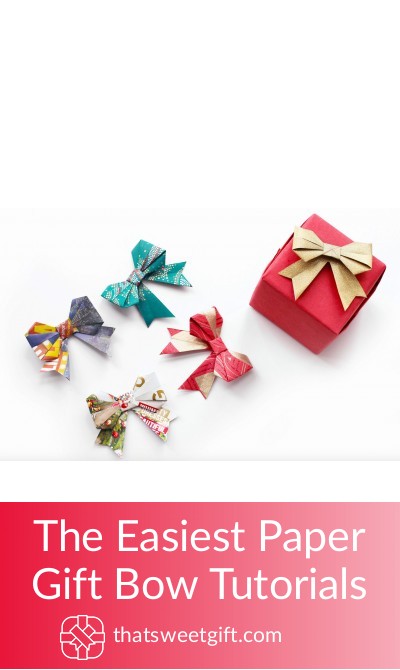
The Easiest Paper Gift Bow Tutorials

When you’re wrapping a present for a friend or family member, you always want to make sure you add the perfect finishing touch. For many, spending extra money on wrapping and decorations is too much on top of a present.
Instead, you can easily use these tutorials to upcycle paper to create unique and stunning bows for any gift. Not only are these tutorials incredibly easy to follow, but they also require items that you likely already have around the house!
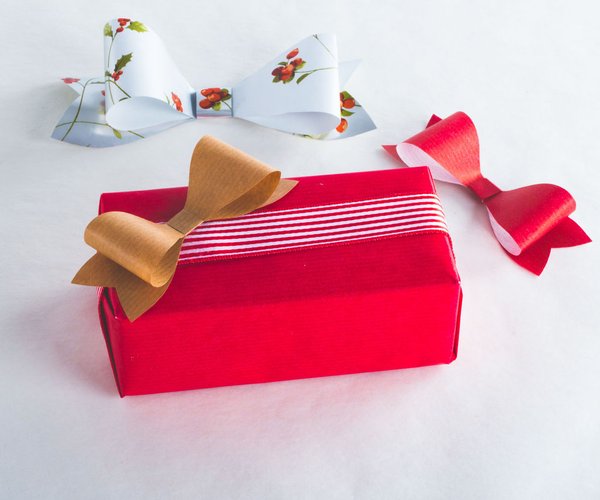
1. Patterned Paper Bow Tutorial
Instead of a regular white paper bow, this tutorial requires patterned paper. If you’re someone who enjoys scrapbooking, it should be quite easy to find the perfect design for your gift. If you don’t have patterned paper, you can always decorate the plain paper with markers or pencil crayons.
Supplies
- 1 12×12” sheet of patterned paper (double sided)
- Scissors
- Ruler
- Pencil
- Stapler
- Glue dots
Get the Double Sided Patterned Paper Here
Directions
✓. Using your ruler and pencil, measure 9 ¾” strips of paper, leaving 3 of the strips at full length. Cut 1” off of 3 of the other strips and cut 2” off 2 other strips. For the last strip, trim it so that it’s 4” in length.
✓. Twist each strip so that it makes a loop on both ends that resembles an infinity symbol. Using the stapler, staple the ends of the strips together in the center. When it comes to the shortest strip, put it into the same loop design but seal it with a glue dot.
✓. Take the three largest loops and stack them on top of one another in an alternating pattern. Attach each layer together with a glue dot. You can then add in the next two groups of strips, following the same pattern.
✓ Use the glue dots to attach the bow to the top of your present as the final step.
Read the full tutorial.
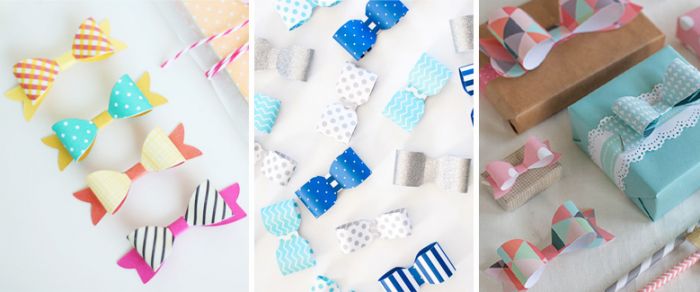
2. Traditional Ribbon Paper Bows
What we love the most about this DIY is how adorable the bows look once they are finished. You can even customize them by making them different sizes for various sized gifts.
Supplies
- Cardstock
- Double-sided tape
- Scissors
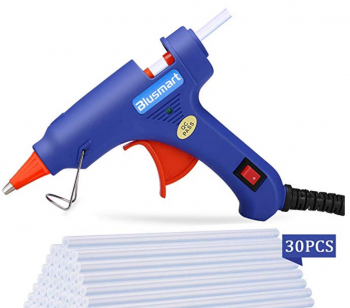
- Hot glue
- Pencil
Directions
✓. Using your pencil, take the card stock and draw one bow with mermaid tail ends and a second bow with pointed ends.
✓. Take your scissors and cut both of the bows out of the paper, setting the excess aside.
✓. First, you’re going to work with the bow template that has the pointed ends. Taking each end of the bowl, glue the ends together into the center using your hot glue. You can also use the double-sided tape if you’re working with thin paper.
✓. Glue, or tape, the rounded bow on top of the template with the mermaid tale ends. Allow the paper to dry for a few minutes and then add double-sided tape the back so that it can be affixed to your present.
3. Magazine Page Pompom Bow
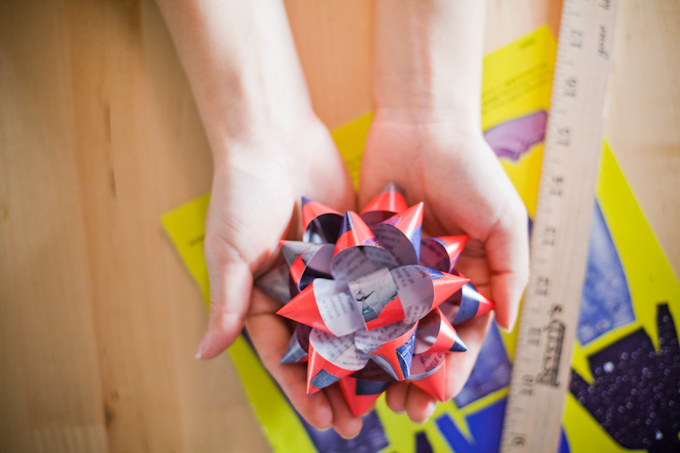
It’s quite likely that you have a spare magazine or book lying around your home. This is a perfect hassle-free and convenient way to make the most out of recycled materials.
You could also consider doing this DIY with any leftover wrapping paper you might have! This tutorial is typically used for the inside of flowers, however, we found it makes a beautiful bow all on its own.
Supplies
- 1 8.5”x11” sheet of cardstock
- Scissors
- Glue
Directions
✓. Taking your sheet of paper, fold it vertically in the middle and then cut it in half using your scissors. Fold each half of the paper vertically again.
✓. Using your scissors, cut slits down the entire length of each folded piece of paper. You then take the paper and fold it vertically in the opposite direction.
✓. Taking your glue, glue the sides of each half together that aren’t fringed and give the glue a few minutes to dry completely.
✓. Roll one glued piece similar to how you would roll a cinnamon roll then add in the second piece and roll that as well. Using your fingers, spread out the slits so that they create a bountiful pompom!
4. Spiked Paper Bow
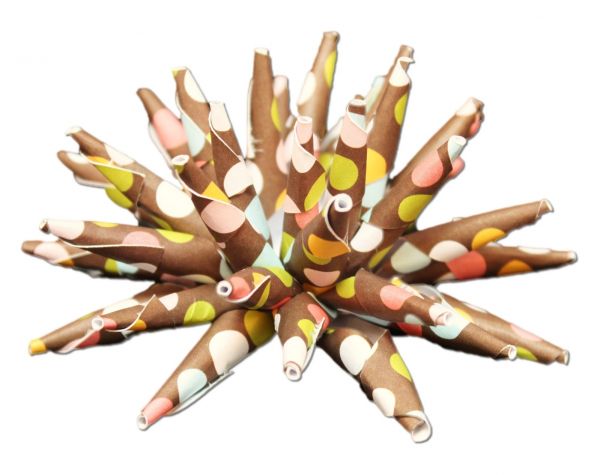
If you’re looking for a jaw-dropping display that will add to the allure of your gift, this is easily one of our favorite paper bow tutorials. It’s easily far more unique than any other tutorial you’ve seen, which is what makes it ideal for any occasion.
Supplies
- Craft paper
- Craft glue
- Sharp pencil
- Scissors
- Cup
Directions
✓. Using your cup, trace 5 to 6 circles on the craft paper and cut them out using scissors.
✓. Take each circle and fold it in half repetitively until you have created 8 sections. On each fold line, cut the length approximately ¾ towards the center of the paper.
✓. Using your sharp pencil, roll each of the cut sections to create miniature cones. Take the craft glue and create a dot of glue at the end, holding the cone in place until it sets.
✓. Once finished, layer each coned circle on top of one another using dabs of glue. During this step, take the time to offset each layer so that the cones stick out in all different directions.
✓. Once you reach the last layer, use the tip of your pencil to stick the glue in place.
5. Super Curly Paper Bow
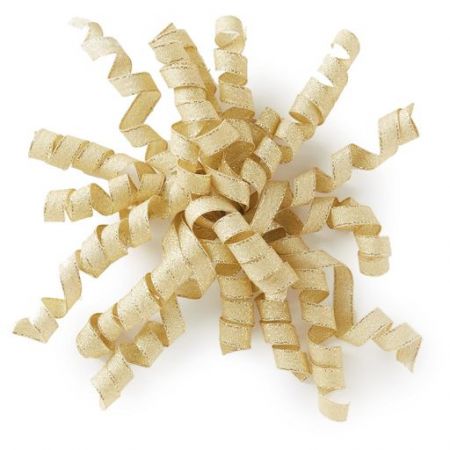
Last, but certainly not least, we have one of the more traditional bows that you can create with just two materials: paper and scissors! We love this bow DIY for children’s gifts or baby showers when you think your wrapping needs a little bit of extra help!
Supplies
- 1 sheet of 12”x12” crafting paper
- Scissors
Directions
✓. Take the sheet of crafting paper and fold it in half vertically so you have two sides. Using your scissors cut slits along the open edge of both halves of the paper.
✓. Using the edge of the scissor blade, curl each individual slit until it reaches the perfect curly design.
✓. Once finished, bunch the non-curled middle of the bow together and frill out the slits so you have a perfectly shaped curly bow.
Final Thoughts
With the help of these tutorials, you’ll have plenty of fantastic ideas to dress up gifts for a variety of occasions. The best part is that they are easy and require very few materials!
Pin for later