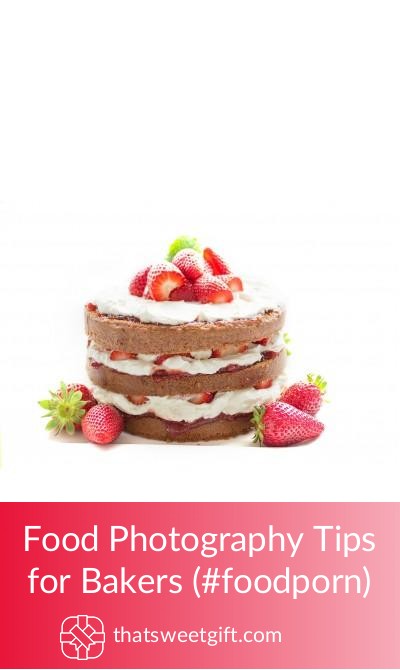
Food Photography Tips for Bakers (#foodporn)
")
It can be rewarding to post a picture of a delectable dessert that you made on your own and sharing it with the world. What’s even better is when you start to see the comments rolling in about how amazing it looks and how all of your followers wish they could taste it through their computer screens. As a baker, the presentation is a huge part of creating successful and appetizing dishes.
When it comes to building your own social media page or if you simply want to share photos with friends and family, take these important food photography tips into account.
Tip 1: Placing Food Slightly Out of Frame
There’s nothing less appealing than seeing a gorgeous pastry that looks unbalanced in the frame when it’s photographed. If you want to add an artistic look to your food that will surely make it look far more appealing to the eye, consider placing it just slightly out of frame.
Tip 2: Capturing from Many Angles and Poses
It’s important to think of photographing your food as if you were taking pictures of a model. It would be a bland photo shoot if you concentrated only on capturing their look from one angle. Be prepared to use a variety of stances and poses with your camera and the food itself. Consider moving the dessert around to get the effect you’re going for.
It’s also a great idea to take enough close up shots of the baked goods but to also focus on capturing images from further away. Think about taking birds-eye view photos and from below upwards as well. You’ll certainly appreciate having an assortment of pictures to choose from to find the perfect ones for your page.
Tip 3: Focus on all of the Details
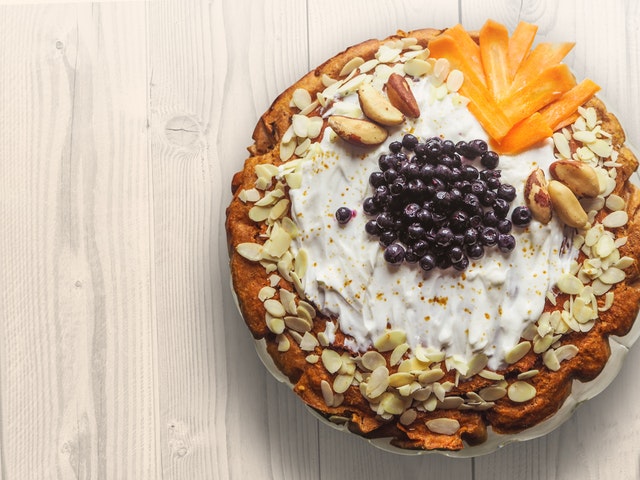
Remember, when it comes to food you’re going to want to sell the dessert to viewers in a way that will make them feel the sugary crumble under their fingers or taste the oozing fudge. Every single detail, even the smallest ones, is crucial to the allure of your pictures. This also means that even the most insignificant flaws are going to be magnified with every shot.
You’re going to want to focus on everything from the look of the food to the accessories you have around the plate.
Tip 4: Learn Your Camera
Even though you might think it’s simple enough to point and shoot an appetizing bakery photo, that’s not always the case. In fact, even the most seasoned bakers will hire professional photographers to get the perfect images of their menu. This is because they know how to work with their equipment.
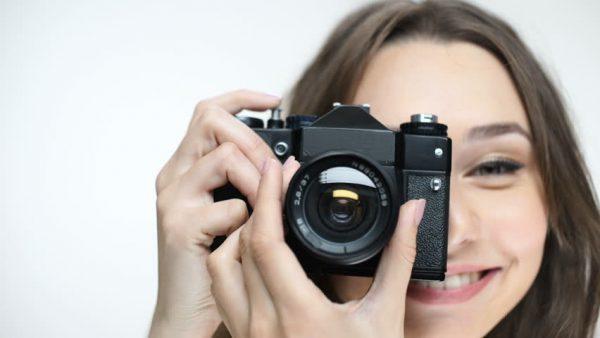
The best way for a self-taught photographer to learn how to take stunning pictures is to practice and to take a look at other pictures for inspiration. Take notes of what angles look the best for what types of desserts and try to find something that inspires you. The more creative you feel with your pictures, the more striking they’ll be.
You’re also going to want to expect to spend months learning about all of the unique settings for your camera. From understanding the concept of macros to dealing with shutter speeds in different lighting conditions, you should become one with your equipment. The better you are at understanding the basic components of photography, the easier it will be for you.
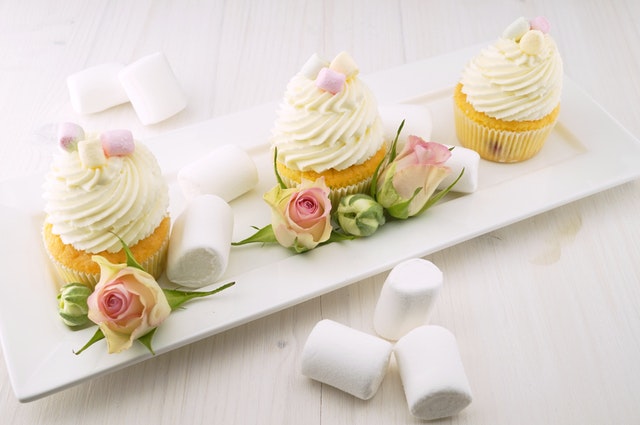
Tip 5: Finding Props
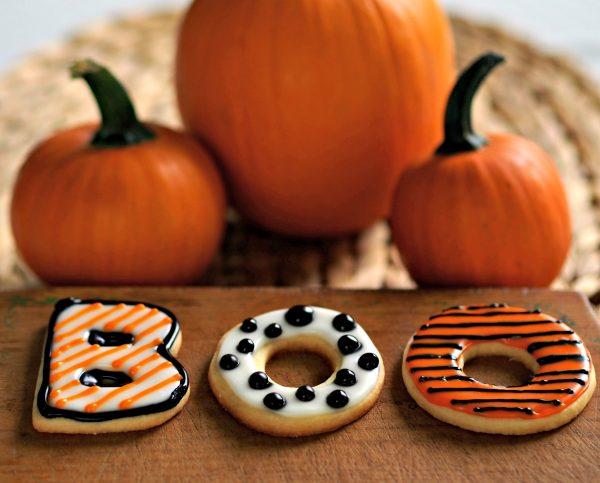
When you start browsing through other food blogs and social media accounts, nearly every picture will have some type of prop along with the food. Props are not only a great way to accentuate a particular aesthetic but also they help to convey a certain theme. For example, if you’re baking an assortment of Halloween cookies you can always add Halloween confetti or garland to correlate with the holiday.
Props should be items in the background, rather than what the viewer will focus on the most. This is when the majority of food photographers will blur the background and sharpen the baked dessert.
Tip 6: Use Negative Space To Your Advantage
As a more technical tip, understanding the benefits of negative space can truly add a remarkable aesthetic to your images. The easiest way to explain it is to think of a picture that is far too busy for you to be able to focus on one thing at a time. Negative space is essentially empty space between different subjects in the same photograph. You can easily take a picture of three slices of cake without making the picture too busy. All you need to do is make sure to place all of the pieces with enough empty space between them.
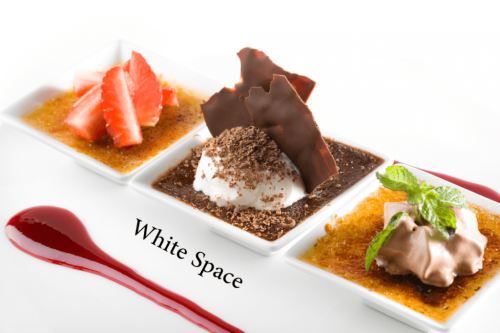
Without negative space, the human eye won’t be able to easily transcend from one point of the picture to another, making it nearly impossible to appreciate.
Tip 7: Accentuate Lighting
Take a moment to think about what a picture would look like without access to lighting. You won’t be able to see the crispness of a crust or the flecks of sugar crystals on the icing. Lighting is what will set your pictures apart from other bakers in your area, especially because it has the tendency to make your food look far more inviting.
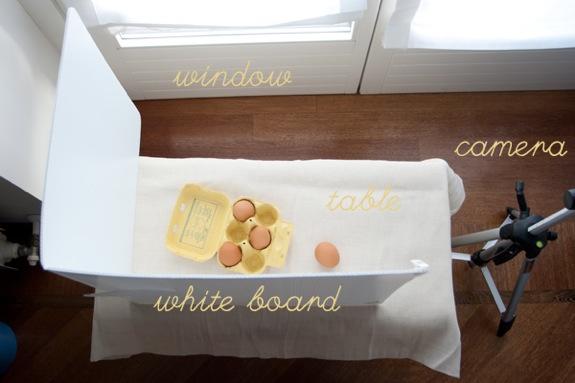
What’s the best type of lighting? Natural light. The best part is that it is entirely free. Don’t worry about flipping on your flash; all you have to do is snap your pictures close to a window.
Tip 8: Collaborate with Other Professionals
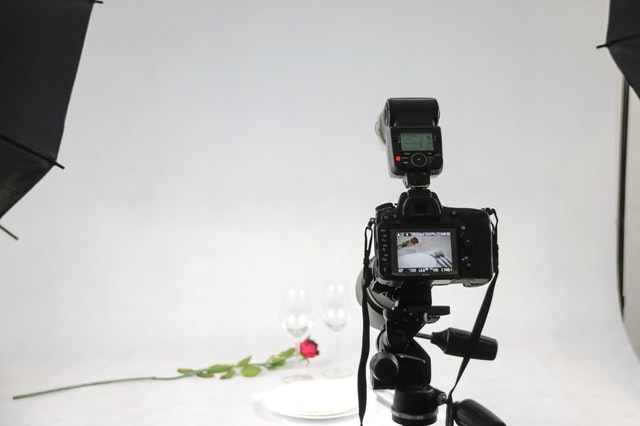
If all else fails, don’t worry about taking on the task of photographing your baked goods on your own. You might find that it’s better to hire a professional photographer for the job, especially if you don’t have enough time to dedicate to learning your camera and equipment.
Food photography is more than something you do on the weekends; it has the ability to become a passion. As a creative visionary that develops scrumptious treats, it gives you the opportunity to share your accomplishments with the world in an extraordinary fashion.
Pin for later