Create Ambiance with Mason Jar Lights: We Found the Most Affordable Supplies!
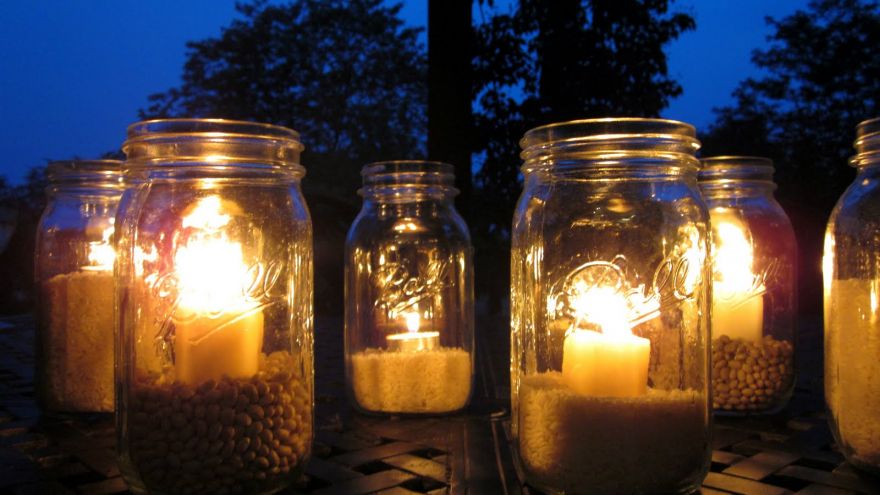
We love a good DIY project, especially when the result is something as awesome as mason jar lights! You have likely seen them all over the Internet (and more specifically, all over Pinterest) but have you ever tried making them yourself?
While we like getting down and dirty, not everyone does, but what is great about these lights is that they are incredibly easy, look great, and best of all, are affordable! Is there a better combo than that? We don’t think so!
Mason jar lights are also excellent to use for a wide variety of occasions which is just one more reason why we love them so much. These are perfect to use for your outdoor evening parties, they make your bedroom look more romantic, they make great centerpieces for a dinner party (or even a wedding!) and oh yeah, also look good just about any other place you can think to put them. They instantly make the room or space they are in look more romantic and cozy. They really do make the perfect ambiance!
Are you looking for a cheap, easy way to add more lighting to your home or backyard? Or, are you just curious how these lights work and may want to try them yourself and see what happens? Either way, we are here to break down the process for you! Best of all, there are two main versions of these lights. One version is incredibly easy, and the other is slightly more involved but still easy. What is the keyword here? Easy!
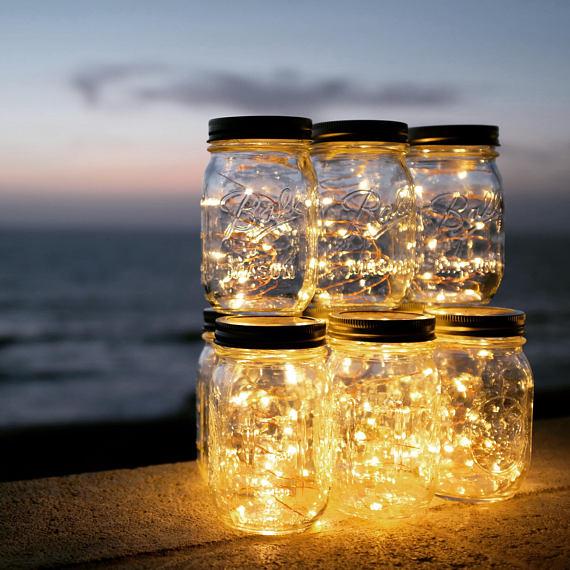
As we also mentioned earlier, this is an affordable DIY project. You don’t need that many supplies to pull these lights together, and even with just a few items, you will have beautiful looking lights that look way more expensive than they actually are.
So, are you convinced yet? Wondering what you need to purchase? Great! Here are the 5 main supplies you need to make mason jar lights. If you go the simplest path you only need 2 items. That’s it! Two! It could not be easier or more affordable.
Mason Jars!
An obvious first choice on our list of supplies- you need mason jars to make mason jar lights! This is the base for your entire light and makes for a really cool, rustic looking light. You may have some mason jars laying around, but keep in mind if you do that you may have to work hard to clean them out or clean them up. If they have labels on them you will probably want to remove them, and any internal residue from whatever they were holding will need to be rinsed out really well. If you do have a good sized collection this is a great way to make this project even more affordable, but for most of us, we aren’t so lucky! Or, alternatively, maybe you do have some old mason jars, but let’s face it, it is easier to buy some new ones that are already clean and ready to go!
We recommend:
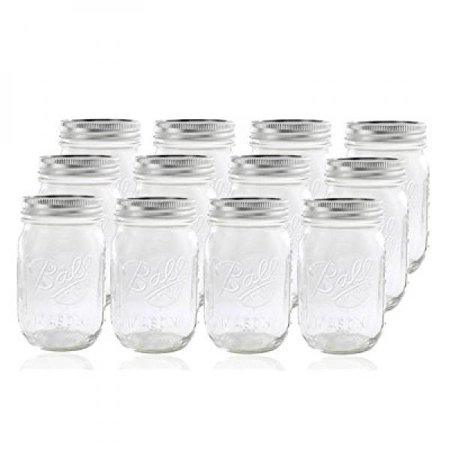
These are the mason jars we recommend – they are durable, clean, affordable, and they come in a set of 12! This is perfect if you are looking to create multiple lights – say if you are using them as centerpieces for a wedding. These are 16 oz. jars which are the perfect size for these type of lights. If you want to have colored lights, you’re in luck! These jars also come in blue so you can have blue toned lights easily without having to find blue light bulbs.
Edison Bulbs
Again, it was pretty obvious you needed mason jars, and it is also pretty obvious that you need lights. So next on our list aren’t just any lights, but edison bulbs. We absolutely love how cool these bulbs look, and they will give your lights a really cool vintage look to them.
Vintage is the hottest trend right now and this is the easiest way to make your lights look incredibly rustic and vintage. If you thought that edison bulbs were hard to find or expensive, think again! You can find them for a very reasonable price and they are perfect for mason jar lights.
We recommend:
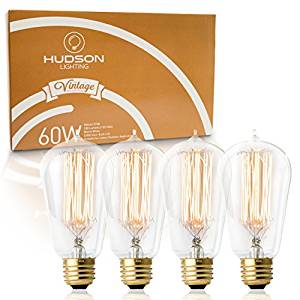
We personally recommend this set of 4 edison bulb s- they have the perfect vintage look and are very inexpensive. These particular bulbs give off a warm toned light, which is exactly what makes for the perfect ambiance with your mason jar lights. Bright lights are great on your car, but not for these lights! You can get these as a pack of 4 or as a single pack, which is great so that you can easily get as many (or as few) as you need.
Cord Kit
This might not be the most fun item on this list, but it may be the most important! If you have a light bulb but no electricity, it isn’t going to provide much light is it? That is where a cord kit comes in! This cord is what your edison bulb will screw into. The cord simply plugs in the wall and turns on – no major electrical wiring skills needed here!
We told you this was an easy DIY project! To attach the cord kit to the mason jar, we recommend cutting a small hole in the top of the mason jar lid and feeding the cord through the hole. Hang down as much cord as you want in the jar, but make sure there is enough room for the bulb to hang freely!
We recommend:
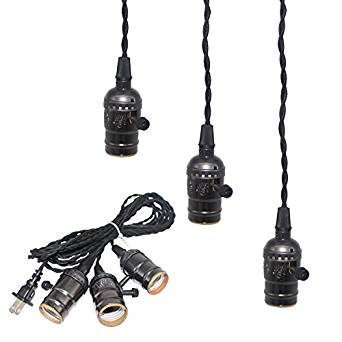
We recommend this cord kit, as it makes the entire process incredibly easy. This is an affordable kit that gives you everything you need and nothing else. This comes as a set of three cords, which will make for an awesome 3 part mason jar light fixture!
Metallic Spray Paint
Do you want to make this project just a little more crafty? We love the metallic trend that is happening right now, and a great way to incorporate that trend into your mason jar lights is with metallic spray paint! Use this spray paint to paint your mason jar lid and your cord if you’ve got one. This will easily elevate the look of your light, it will seriously look like an expensive light, but you’ll know the truth! It is incredibly affordable!
We recommend:
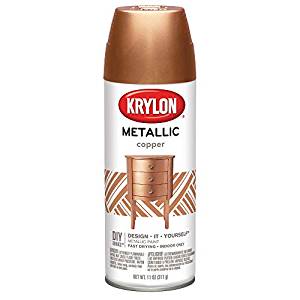
We personally love the copper metallic look which is why we recommend this product- however you can go in any direction you want! Copper, gold, silver, rose gold, the sky’s the limit! Spray paint makes this project much easier than having to paint the jars by hand. We recommend placing your items in a cardboard box and spraying them in there so you don’t get spray paint everywhere.
LED String Lights
Finally, if you don’t want to mess with a cord kit or light bulbs, you don’t have to! We absolutely love LED string lights, and they make your life so much easier. Seriously! If you use these lights this is all you have to do: purchase a mason jar, open the lid, stick these lights inside and turn them on. Close the lid. That’s it! Wow. It really couldn’t be easier. These lights are typically battery operated and come with an attached switch. Coil them up and stick them in your jar and you are done.
We recommend:
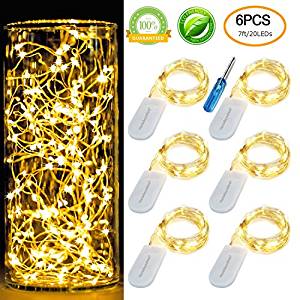
We love these particular LED lights and love that they come as a pack of 6. If you aren’t planning to hang your lights and are using them as a centerpiece, this is a great option for you. Simply turn the switch on and you can easily tuck it into the string of lights so that you don’t really see it. These look like lightning bugs or fairy lights, and are so easy! Bend the wire into any design you want and stick it in your jar. That’s it!
Wrapping Up
So there you have it! We told you this was an easy and affordable project! Whether you go the simple way with the string LED lights, or take things up a notch with the edison bulbs, either way the results are beautiful lights that you can use indoors or outdoors. Use other supplies like spray paint to decorate your jars further, but if you don’t feel like getting that crafty, you don’t need to!
That is the beauty of these lights. In their simplest, most rustic state they are equally beautiful and are some of the trendiest lights out there right now. Who knew you could have your own in just a few minutes?
Pin for later
