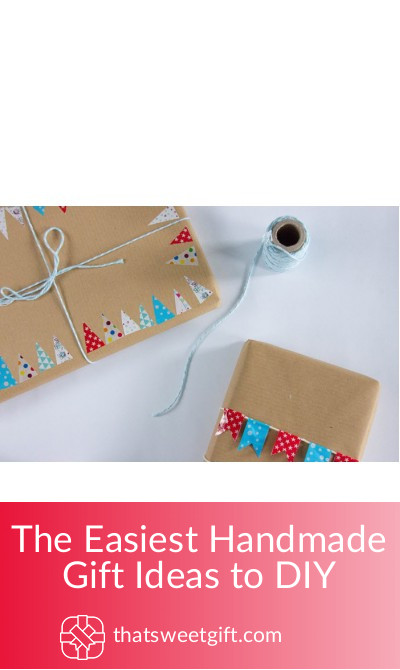
The Easiest Handmade Gift Ideas to DIY

Are you feeling a little crafty? While going out and purchasing a gift is great, sometimes it is even better to get your hands dirty and make something yourself! Best of all, DIY projects are fun, personal, and really do make for great gifts.
DIY projects are also great if you have children and want to get them involved. Perfect to do as a weekend project, or for those rainy days when you have to stay inside, DIY is always tons of fun! Best of all, there are plenty of easy ideas to choose from that won’t have you tearing apart your house, or spending a lot of time.
With a little creativity and some time, you can create an excellent handmade gift that works great for a Christmas party, housewarming gift, white elephant gift, or even as a sympathy gift. There really isn’t an occasion where a handmade gift isn’t appropriate! These gifts are also great to give as a thank you gift say for a special nurse or doctor, or a teacher at your child’s school.
If you aren’t very creative, or you just have run out of ideas on what to make next, you’ve come to the right place! We have found some of the easiest, but best looking, handmade gift ideas that are completely DIY. If there is a party or holiday coming up, check out this list and see if there is something here you want to consider making. It is sure to be an absolute hit!
1. Rock Picture Holders
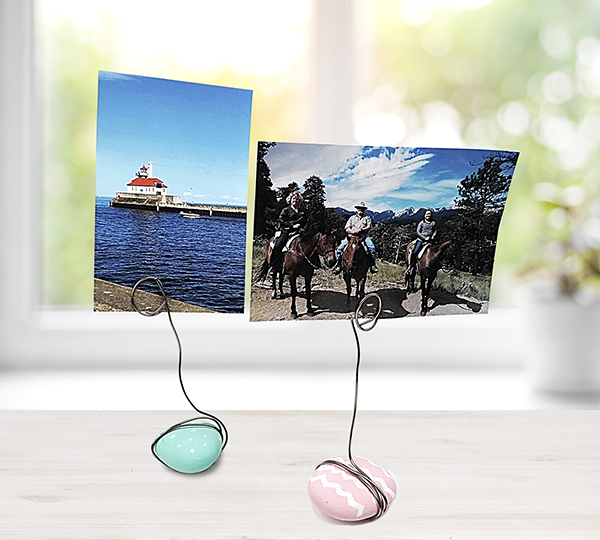
Do you know someone who loves taking polaroid pictures? They have really made a comeback! Even though social media seems to dominate today’s world, plenty of people enjoy having their photos actually printed. Once they are printed the problem becomes – where to display them? That is where this fun DIY project comes in!
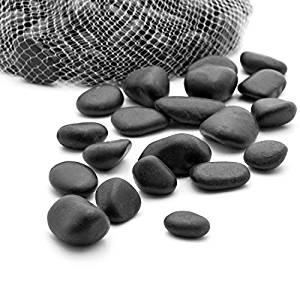
With this project, there are only 3 main items that you need- rocks, wire, and paint! That’s it! If you want to go more rustic, simply head outside and find some decent sized rocks to use. If you want to create a more sleek looking gift, go to your local craft store to purchase some smoother rocks. Use your creativity to paint them however you want. Are you gifting these over the holidays? Paint them red and green! Or, for other occasions, pick other solid colors, or go crazy and do multiple colors! What is great about this project is that it is very open to interpretation.
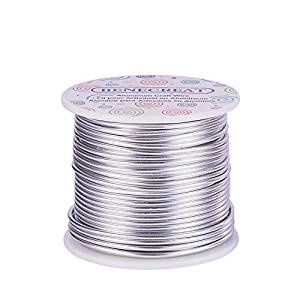
If you are doing this with your kids (perhaps to make a photo holder to give to dad for Father’s Day?) let them each paint their own rock however they want. You can paint your own as well! Next, all you need to do is get some wire (we like the look of copper wire and it is easy to work with), and wrap it around the rock a few times.
The end of the wire is where your picture will go- to make a nice tight loop, consider wrapping it around a marker and wrap it at least twice so that a picture can easily be wedged in between the loops. Use some pliers to cut off the wire and that’s it! Simple, easy, and it makes for such a great gift! These holders look great almost anywhere- at home, or at work on your desk!
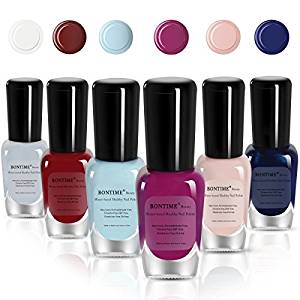
2. Watercolored/Marbled Mugs

This might be our favorite DIY project- the end result is so beautiful and it seriously looks like you spent a lot of money on these mugs! Perfect for anyone who enjoys a nice cup of coffee in the morning (or afternoon, or evening…we don’t judge) this is a wonderful gift to get them. This is also great for tea drinkers!

Best of all, you probably already have the main item needed to make the color – it’s nail polish! Yes, seriously! Go out and purchase a plain mug that you will use to color. This is easy to find at almost any major store like Target or Walmart. You will also need a container to dip the mug in, so either purchase a new one that you don’t mind staining, or use an old one that you were planning to get rid of anyways.
All you have to do for this project is fill up the container with warm water. Make sure you don’t fill it up too much- you don’t want it spilling over the side when you dip the mug in. Next, get your nail polish and put in a few drops. You could do just one color, but we recommend doing at least two to get a really nice marbleized look to your design. You don’t need to use a lot! A few drops of each will do.
You might need to swirl the nail polish a little bit, using something like a straw or skewer to lightly start to mix the polish. Don’t spend too much time, though! Grab your mug and dip and swirl it around where the nail polish is. This is where you get to be creative! You can keep the color focused on one area of the mug, or spread it around and cover more of the entire mug. Do what you like! We recommend leaving at least part of the rim free from polish so that whoever drinks from the mug doesn’t have to come in contact with the polish. Looks great, not for eating!
When you are finished, remove the mug and place it on a paper towel and don’t touch it! Let it completely dry before picking it up. That’s it!
This is a great, quick project that kids will absolutely love helping out with as well. The end result are some seriously cool looking mugs- you might just keep one for yourself!
3. Bath Bombs
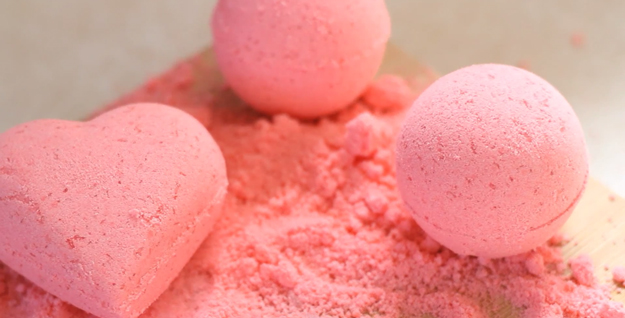
Who doesn’t love bath bombs?! The last couple of years they have become all the rage, but the truth is, they can be sort of pricey to buy from the store! Plus, when you buy them, you don’t get to experience the fun of making them yourself (which includes picking your favorite scent which we love).
Believe it or not this is a fairly easy project, even though it requires a few more ingredients than the other projects. Either way, it is a great DIY project, tons of fun, smells great, and makes for an excellent gift! Perfect to give out at a birthday party, or for a bridal shower or bachelorette party.
Here is the best ‘recipe’ to make beautiful, delicious smelling bath bombs!
Ingredients
- 8 ounces baking soda
- 4 ounces corn starch
- 3 ounces citric acid
- 3 tablespoons coconut oil
- 4 ounces epsom salt
- 1 tablespoon water
- 2 teaspoons essential oil (pick the scent you like best!)
- 4 drops food coloring (again, pick the color you like best!)
- Dried flower petals (optional, but they add a nice touch!)
Steps
Staret mixing epsom salt, the baking soda, the citric acid, corn starch together in a large bowl. If you have dried flower petals you can add them at this stage as well.
Next, mix together your wet ingredients in a bowl (that would be the water, coconut oil, essential oil, and food coloring).
Now for the fun part! Slowly add the wet ingredients into the ones that are dry and start incorporating them. If it starts fizzing too much, slow down! We want to save all the fizzing for in the bath!
Transfer the content into silicone molds. This recipe will make around 10-12 bath bombs so make sure you have enough. Work quickly so that the content doesn’t dry out before you’ve formed the bombs!
Let them totally dry, and that’s it! You can now package them up and give them out as presents. Truly a great gift that makes for an even greater, relaxing bath experience!
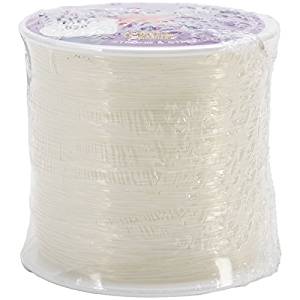
4. Bead Bracelets
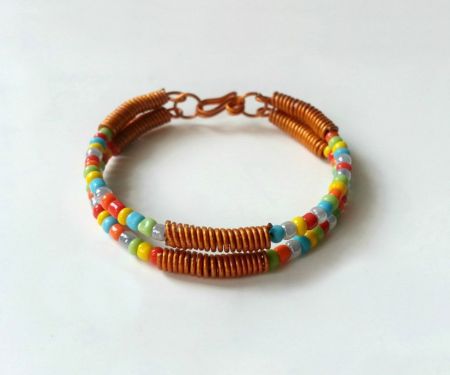
It wouldn’t feel right to have a DIY list without the classic project, bead bracelets! Maybe you made some as kids, but they are always a fun project that still make for a great gift. Best of all, these bead bracelets are fun to mix and match and stack, which is a very popular jewelry trend these days! For a trendy, fun gift that your kids can help with, bead bracelets are the way to go!
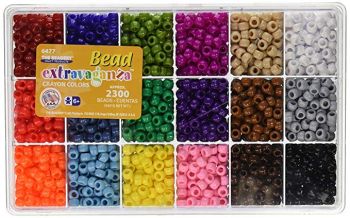
For this project you will need stretch cord, beads, and some type of glue to hold it together. We recommend something like hot glue and not elmers glue. First you will want to cut a piece of the cord that is going to be the right size for a bracelet. Use someone’s wrist as an actual guide to make sure you get it right! Tie a knot at one end (leave a little extra) and start adding your beads! Add whatever type of beads you want- do all one color, or mix it up. The choice is yours! Have fun!
Once you have strung all your beads (leave some space at the other end) you will tie the entire bracelet in a knot to make the loop. We suggest adding some type of glue to really secure the knot in place, as well as tying several knots if you can so that the bracelet is super secure. That’s it! This project really couldn’t be easier, but the end result is a really nice looking piece of jewelry that makes for a great gift!
Wrapping Up
There you have it! These are some of the easiest DIY projects out there, but they result in some beautiful pieces that make for excellent gifts! These don’t take much time, but their impact is huge! Which project will you tackle first?
Pin for later