Pumpkin Carving Ideas That Are Super Easy and Fun to Do with Your Kids

With Halloween quickly approaching, it’s common for parents and teachers to start scrambling for ideas to keep their kids entertained and get them into the holiday spirit. Pumpkin carving is by far one of the greatest things that you can do with kids as it gives them the ability to express their creativity, to learn more about how plants grow, and to get their hands dirty.
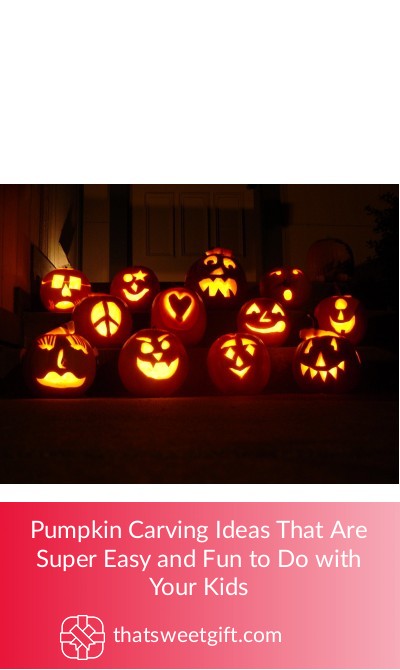
We’ve found some spectacular pumpkin carving ideas that are not only incredibly easy but also incredibly fun for kids of all ages. All you have to do is watch the following tutorials and you’ll be well on your way to the most exciting Halloween pumpkin carving possible.
1. Traditional Jack-o-Lantern
There’s nothing that screams “Halloween!” more than the traditional look of a jack-o-lantern and with the right tools, your kids can tackle the project all on their own. However, we recommend that you take the time to find kid-friendly carving tools that will help to make sure they don’t have to rely on sharp and scary carving accessories!
Step 1: Prepare the pumpkin
First, you’re going to want to cut a hole in the top of the pumpkin and ensure that you get all of the insides out, as you’re going to be adding a candle later on and the last thing you’ll need is your pumpkin lighting on fire!
Step 2: Create a stencil
Once all of the “guts” of the pumpkin have been removed, have your children draw the face that they want their jack-o-lantern to have either on a piece of paper or on the pumpkin itself. We recommend having them draw it on a piece of paper as it’s a smoother surface so they can ensure that they don’t have any uneven lines.
Step 3: Attach the stencil and carve
As soon as they’re finished with the face of their pumpkin, attach the stencil to the front of the pumpkin with the help of tape. Your kids can then use the paper as a guide to know where to make all of their cuts and to know what pieces need to be removed before placing the candle in the pumpkin.
Step 4: Lighting the pumpkin
At this point, their pumpkin should be perfectly carved and now it’s your turn, as the adult, to add a tea light and light it so that your kids can see just how their hard work paid off! With the right tools, this is one of our favorite kid-friendly and simple pumpkin carving ideas for this year.
2. “Sticky Foam” Pumpkin Decorating
If you’re not a fan of conventional carving and are looking for something better for younger children, this idea using sticky foam instead of carving tools is a phenomenal alternative. The best part is that you can find all of the materials that you need from the dollar store or your local craft store, depending on your budget.
Step 1: Gather the materials
The first thing you’ll need to do is get everything that you’ll need an exciting evening of pumpkin decorating using sticky foam. In most craft stores, you’ll be able to find sheets of foam that come with an adhesive so that your kids only have to pull the adhesive off of the back of their shapes to stick them to the pumpkin.
If you intend on displaying the pumpkins outside, we recommend investing in another type of kid-safe glue for a little bit of extra stickiness.
Step 2: Draw out your shapes
Now it’s time for the kids to decide what type of shapes they want to use to decorate their pumpkins. They don’t need to settle for traditional eyes and teeth, but instead, encourage them to express their creativity with different shapes and designs. With the help of a non-toxic marker, have them draw out the pieces that will be cut out of the foam.
Step 3: Gluing the shapes to the pumpkin
Once all of the shapes have been created, you can help your children by cutting the shapes out of the foam, ensuring that they are scaled to the right size based on the size of their pumpkin. They can then peel the adhesive off of the back of the foam and affix the shapes as they see fit, remember to add the extra glue if you’re worried about the foam stickers staying in their place!
3. Painted Alien Pumpkins
There’s nothing more exciting than opting for a non-traditional idea that really gets your creative juices flowing, which is why we love this painted alien pumpkin tutorial.
Without needing to worry about adhesives, scissors, or any type of pumpkin carving tools, this project is something that children of every age can do with little supervision.
Step 1: Choose all of your paints
The first step is to determine what your kids are going to want their alien pumpkins to look like, as you’ll need to buy all of the paint that they’ll need. We recommend choosing bright and vibrant colors for the base, such as purple and green, selecting a white for the eyes, and a black paint for any finer detailing that needs to be done. You’re also going to want to make sure that you buy an assortment of paintbrushes and disposal plates to pour the paint onto.
Step 2: Painting the base
The next step is to add the base color to the pumpkin with the paint and a large paintbrush. Depending on the type of paint you choose, you might need two to three coats for the base but ensure that you leave a sufficient amount of time for it to dry in-between coats.
Step 3: Map out the details
Once the base is fully dry, have your children mark out where the eyes, mouth, nose, and any other unique features will be added, as this will make it much easier for them to paint in the smaller details. Similar to how you would make a stencil for carving your pumpkin, having a plan for where the features will be placed will take time and effort out of the painting.
Step 4: Allow time to dry
The only thing that’s left is to leave the pumpkin in a safe place so that it can dry. It’s recommended that unless you seal the paint, the pumpkins should be used for inside décor, though there are sealants that you can buy to make them water-safe.
Final Thoughts
There are plenty of unconventional pumpkin decorating and carving ideas that you can use with your kids as long as you get a little creative. From traditional methods with the help of kid-safe tools to painting unique and extrinsic characters on their pumpkins, you can guarantee they’ll be entertained for hours.
Pin for later