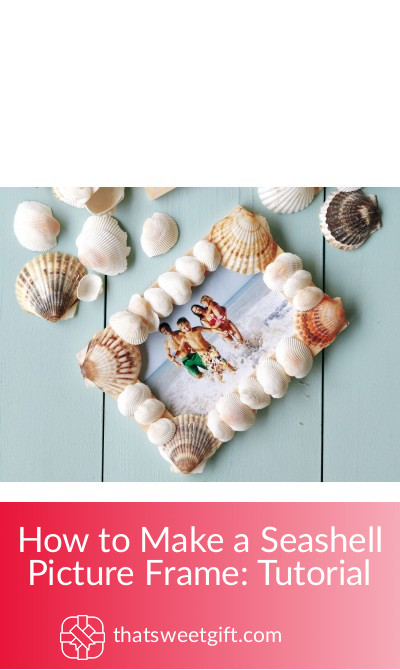
How to Make a Seashell Picture Frame: Tutorial

Seashell frames are a stunning way to bring the ocean into your home. This is especially true if you’ve recently gone on a trip and are looking for a way to use some of the shells you picked up during your travels.
All in all, you can choose how you wish to decorate your ideal frame, but we have found three of our favorite tutorials for you to follow.
With a couple of common crafting items, you can find at your local craft store (including the shells), you’ll have beautifully decorated frames in no time!
1. Glitter Seashell Photo Frame
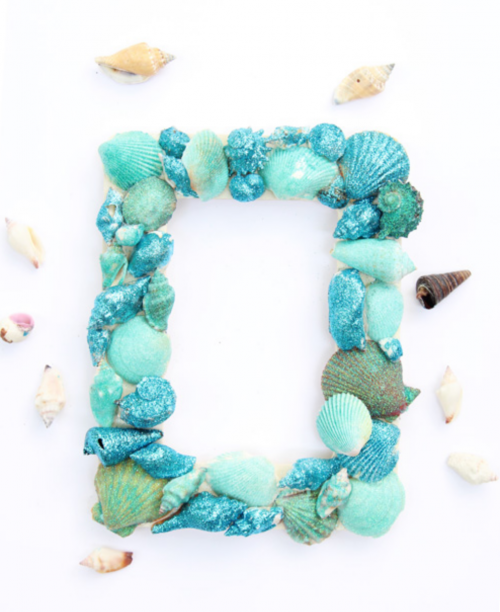
We love the idea of this photo frame as it’s a fun and interesting project that you can either do on your own or with the help of your kids. When you’re finished, you’ll have a stunning picture displayed in a frame with the perfect amount of glitz and glam.
What You’ll Need
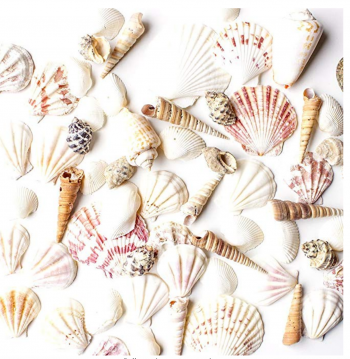
- An assortment of shells
- Extra fine glitter (colors of your choosing)
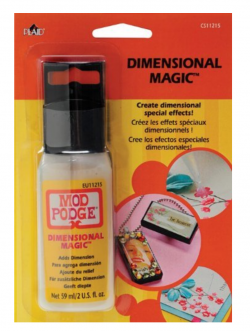
- Mod Podge
- Hot glue gun
- Wooden picture frame
- Paintbrushes
Directions
✓ The first thing you’ll want to do is to paint the Mod Podge on the front of your shells. We recommended painting them one by one so you can get the glitter on before they dry.
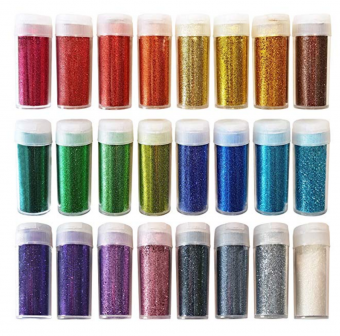
✓ Taking your extra fine glitter, sprinkle it on all of the areas where the Mod Podge was applied. You’ll want to make sure that you wait for them to dry fully before moving onto the next step.
✓ Using your hot glue gun, glue all of the shells to the front of the picture frame. Make sure that you alternate the shells so that you have an assortment of large, medium, and small ones. You won’t want any of the frame showing underneath.
✓ As soon as the hot glue has dried, paint a second layer of Mod Podge over the entirety of the frame. This will help to seal in all of the glitter, so it doesn’t make a mess!
Wait for the whole frame to dry overnight and then it should be ready to use.
Full tutorial: Onelittleproject
2. Corner Accent Shell Frame
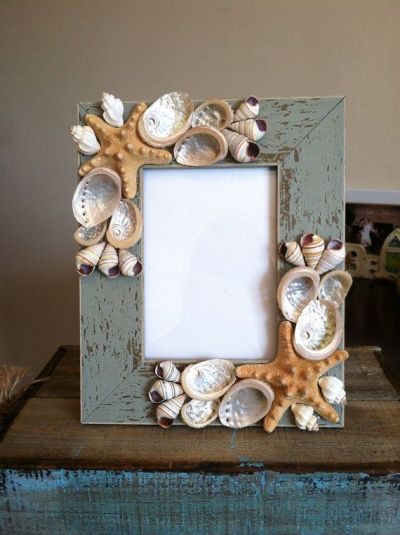
Instead of putting the seashells all over the front of the frame, this tutorial adds a little bit of luxury and memories of the vacation without being too overwhelming.
It’s also a great idea for families that might have a smaller assortment of shells from their trip. As a fantastic alternative to a glitter frame, this project has a more authentic ocean vibe.
What You’ll Need
- Wood picture frame
- Sandpaper
- Paintbrush
- Paper towels
- Permanent adhesive
- Turquoise paint
- White paint
- Assortment of shells
Directions
✓ The first step of the project is to distress the frame, as this will add to its authenticity. First, paint the entire wood frame white and allow the paint to dry. You can then paint it turquoise and wait for the paint to dry again.
✓ Using your sandpaper, gently brush away the turquoise paint so that a little of the white paint is visible underneath the layer. It will have an earthy sea-washed appeal that will add to the aesthetic of the shells.
✓ It’s now time to plan where you want the shells to go. We recommend lining them up in one corner of the frame so you have an idea of what shells you’re going to need and what their perfect placement is. Try arranging your largest shells first and then fill in any gaps with the smaller shells.
✓ Taking the permanent adhesive, apply it to the back of the shells, making sure you cover all of the contact points. Hold each shell in place for about 5 to 10 seconds so it can adhere properly. Once you have all of the shells glued to the frame, allow it to dry overnight.
Full tutorial: Runningwithsisters
3. Multicolor Shell Picture Frame

With this tutorial, you’ll be able to add the perfect pop of color to any room in your home. Instead of painting the shells, we recommend collecting (or buying) a variety of shells with different colors.
It will be far less expensive and less time consuming if you opt to not paint them.
What You’ll Need
- Wood picture frame
- White paint
- Sparkle paints
- Paintbrushes
- Assortment of shells
- Tacky glue
Directions
✓ First, you’re going to want to paint the frame before you get to gluing the shells. By mixing the white and glitter paints together, you’ll be able to create a sparkly sand texture that adds to the look and feel of the frame. Apply the mixture evenly to the surface of the frame.
✓ Once the paint has dried, arrange your shells on the frame in an order you desire. You can also mix small pebbles and grains of sand if you want to make the frame even more luxurious. Planning where all of the shells will go will surely help to make it simpler when it comes time to glue everything down.
✓ Using the tacky glue, apply the glue to the back of all of the shells, pebbles, and chunks of sand that you want to have on the front of the frame. We recommend concentrating the majority of the shells in the corner of the frames, as it will accentuate the importance and beauty of the photo in the frame.
✓ Allow the glue to dry for one to three hours and inspect the design to see if there is anything else that the frame needs. You might find that you’ll have more room to add extra decorations, however, you don’t want to take away from the picture that you’ll have displayed.
Full tutorial: Happyfamilyart
Customizing a new frame with your favorite photo from a trip can be a great project for the whole family. It will surely become the focal point of a room and be a great talking point for friends and family members who come to visit.
What we love the most about these three tutorials is that they are easy to handle, even if you’re not the most creative person!
Pin for later