How to Easily Create Your Online Invitations for Any Type of Party!

You’ve decided that you want to host a special event, however, you don’t want to rely on traditional invitations. You can guarantee that you’re not alone, as more hostesses and hosts are beginning to take advantage of online invitations as they’re more eco-friendly and far more cost effective. With that being said, plenty of people assume that an e-vite is a cheap and bland way to invite guests over, however, with the right tips, you can create stellar online invitations for absolutely any type of party!
Tip 1: Find an Online Invitation Designing Platform
The most important tip that you can use to your advantage is to find an online platform that gives you the ability to choose from a wide variety of templates and input your own information. Similar to how Microsoft Word has templates for resumes, these web-based programs have plenty of different unique designs that you can choose from depending on the party you’re hosting.
All you have to do is pick the right template and put in all of the information that you want to give to your guests such as the time of the party, how to RSVP, and who’s hosting the event. What makes these programs so useful is that you can also add little embellishments, change the colors and sizes of the fonts, and more. It’s essentially the best way to create high-quality customized online invitations with as little effort as possible.
Some of the platforms we recommend:
Tip 2: Hiring a Designer
If you have the budget to hire someone to create your online invitations, it’s recommended that you try it out because graphic designers can create some of the most unique concepts that you have ever seen. You might even be able to find a designer that can create animations to bring your invitations alive and get your guests more excited about your upcoming event.
When it comes to working with a designer, you’ll likely either pay them by the hour or pay them a flat fee for the amount of work that you need them to do. However, you’re going to need to give them a detailed outline of what you want the invitations to look like. This is the perfect option for the host who might not have a lot of time to customize invitations through an online template and who has a substantial budget for their party, as graphic designers and artists can be a costly expense.
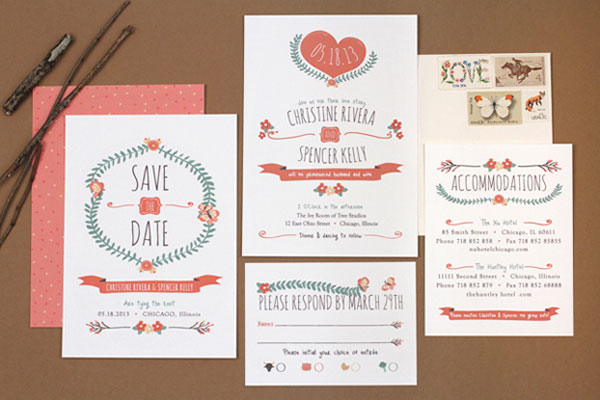
Tip 3: Choose Attention-Grabbing Imagery
Once you’ve chosen whether you want to make your own invitations or hire someone else to bring your concepts to life, you’re going to want to focus on the type of imagery you’re going to have on your invitations. As you won’t have to worry about printer ink or paper, the sky is the limit when it comes to creating jaw-dropping and unique invitations.
Ideally, you’re going to want to choose pictures that are going to grab the attention of your guests and get them excited to come to your event, however, it’s also important that the images relate to the type of party you’re hosting. For example, if it’s a birthday party we recommend using great pictures based on the theme of the party.
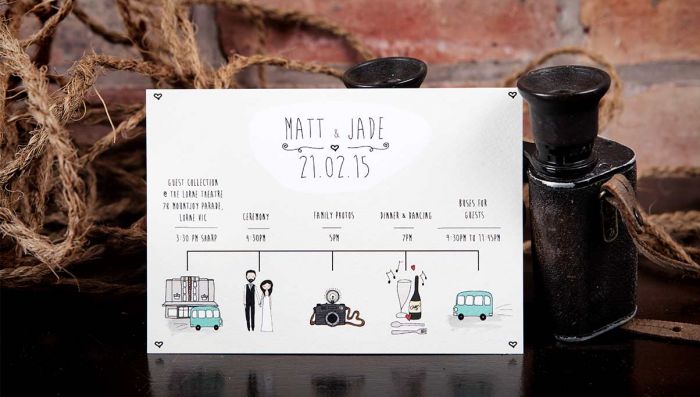
Tip 4: Make Sure All Important Information is Given
Even though e-vites are the easier way to send invitations, it’s still easy for people to leave out the most important information that guests need in order to plan their schedules accordingly. There are several different tidbits of info that you’ll have to make sure you include in your invitations, such as:
Date: The day, month, and year that you intend on hosting the event.
Time: When the main event starts and any other important times, such as when dinner will be served.
Host/Hostess: This is useful for guests to know who will be responsible for planning the event.
Address: No matter if it’s at your house or a specific venue, you’re still going to want to provide the address.
Guest of honor: This is only applicable if you’re hosting an event for someone, such as a birthday party or shower.
RSVP instructions: Always make sure that your guests know how to confirm whether they are going to show up to the event or not, as well as if they’re bringing a +1.
Tip 5: Make an Online RSVP Page
It’s important to remember that when you’re dealing with online invitations, it opens the door to plenty of possibilities, however, you’re not going to want to make the invitations too interactive to where your guests don’t know where to go. We recommend instead of having your guests call or text you via a phone number, you give them a link to a dedicated RSVP page.
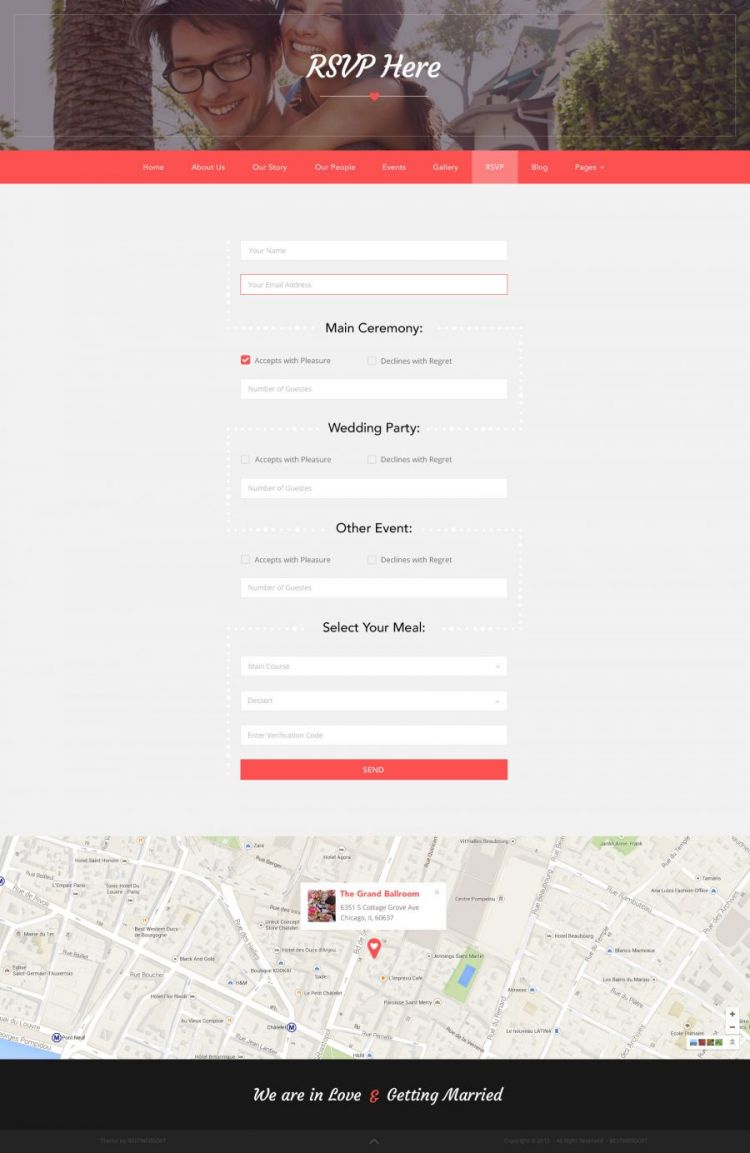
On these pages, your guests will be able to confirm whether they will be in attendance if they’re bringing anything extra, and they can also ask the host/hostess any questions about the event. On your end, you’ll easily be able to log into the RSVP page and keep track of any inquiries and the headcount. It truly helps to make planning the entire event much simpler.
Tip 6: Proof the Invitations
The final tip is to make sure that you take the time to proof the invitations before you send them out to your guests because once they have been sent, you won’t have the ability to make any changes or adjustments. This also gives you the ability to determine whether you need to add anything extra to the invite that might give your guests more information about the event, such as parking or dress code information.
Creating Online Invites is Easy!
If there’s one thing that everyone who uses e-vites knows, it’s that making them is much easier than you would think. With plenty of online programs that do most of the heavy lifting for you, all you need to do is input the information and the ideal invitations will be created in a matter of minutes. Even if you hire someone else to do the designing for you, you’ll find that sending online invitations is far better than relying on traditional paper invites.
Pin for later