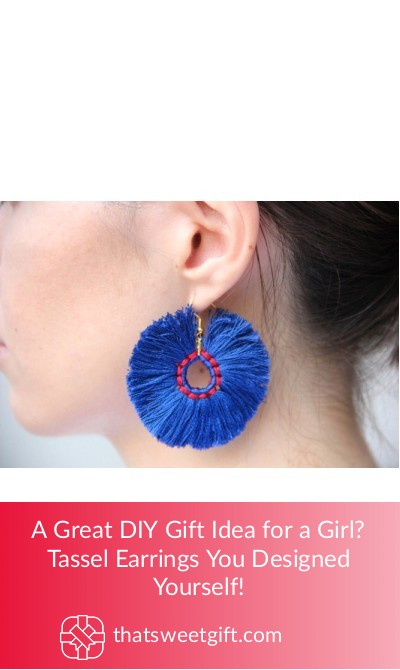
A Great DIY Gift Idea for a Girl? Tassel Earrings You Designed Yourself!

One thing that every avid DIYer looks for is a project that looks great and requires very little effort. If you’ve always been a fan of tassel earrings but aren’t interested in paying retail for them, you’re not alone, especially as it’s something that you can do entirely on your own!
As a great accessory that you can give as a gift to a friend or family member, or a phenomenal pair of earrings that you can wear with your favorite outfit, below are our favorite DIY tassel earring instructions so you can make them at home.
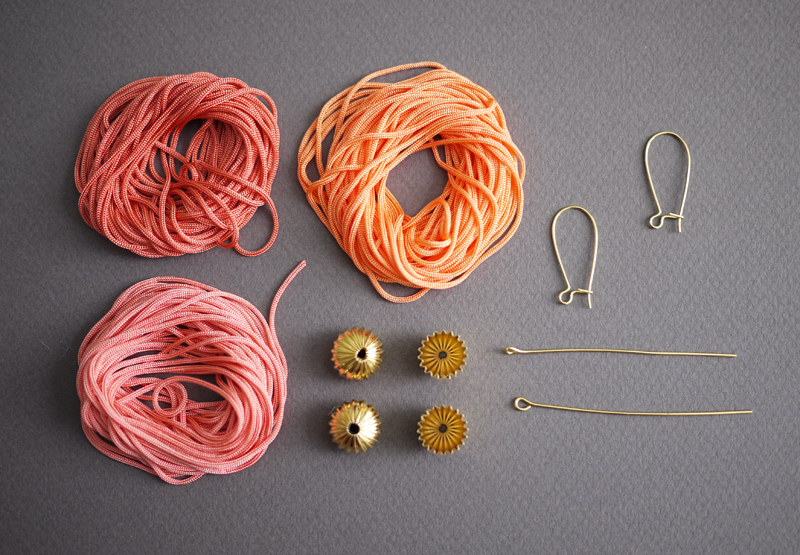
Gathering All of Your Materials
Step 1: Choose Your Embroidery Thread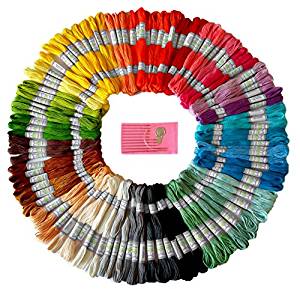
First and foremost, you’re going to have to find embroidery thread that matches the colors you want to use for your earrings. Luckily, there are hundreds of different colors that you can choose from and you can even alternate colors if you want to make a rainbow pair.
Embroidery thread is by far the most important part of the project as it’s the material we’re going to use for the tassels.
Step 2: Find Earring Hooks
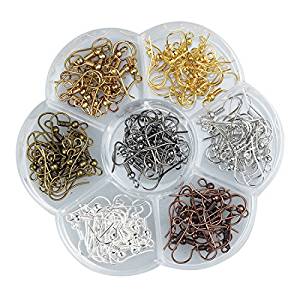
Earring hooks are another important part of the project, as you’re going to need them in order to hang the earrings in your ears. This is when you’ll want to take your personal preference into account because even though you’re able to find inexpensive earring hooks, they might not work with your ears. For example, if you have metal sensitivities, you might have to opt for real gold instead of fake, however, you should easily be able to find earring hooks that fit your needs.
Step 3: Choose Metal Beads
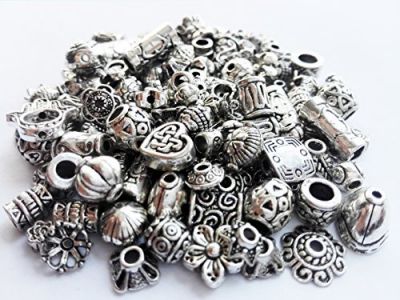
As the third jewelry making item that you are going to have to purchase, you’re going to want metal beads, as this will create a separation between the tassel and the earring hook, not to mention it’s also a stunning accent piece that will pull the earrings together seamlessly.
Step 4: Gather Scissors, Needles, and Thread
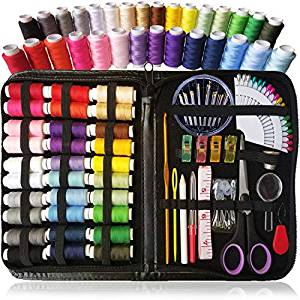
The final three items that you’re going to need are scissors, a needle, and some thread. Ideally, you’re going to want to choose a thread that matches the embroidery thread that you’ve chosen, as it will help to camouflage the thread. It’s quite likely that you already have these items at home, but we’ve linked to the products above just in case you want to buy everything you need in one place.
Beginning to Make the Tassel Earrings
Step 1: Folding the Embroidery Thread
The first thing you’re going to want to do is to take your embroidery thread and cut a small piece off, we recommend between 2 and 3 inches. You can then bundle the thread in half and then take the spare piece, placing it across the top of the bundle. At this point, you’re going to want to tie the spare piece very tightly, as the knot will need to keep steady so that you can have two even sections of bundled embroidery thread.
Step 2: Creating the Tassels
Once you have achieved two even sides of bundles with your thread, reach for your scissors and use them to cut through the looped ends of the embroidery thread. This should give you a bundle of string pieces, instead of looped pieces and these will be your tassels.
Take the two halves of the embroidery thread, then fold them down so that they are sitting on top of one another, and then take another spare piece of embroidery thread and tie it tightly around the top of the two bundles. This should give you a bulbous top and then a flowing tassel at the bottom.

With the help of your scissors, we recommend trimming the bottom of the tassels just so all of the strings fall evenly and are level, though if you want to go for a more extrinsic approach, you don’t have to even them out. You’ll then want to repeat this process for your second tassel and at this point, you should have two that are ready to be attached to your earring hooks.
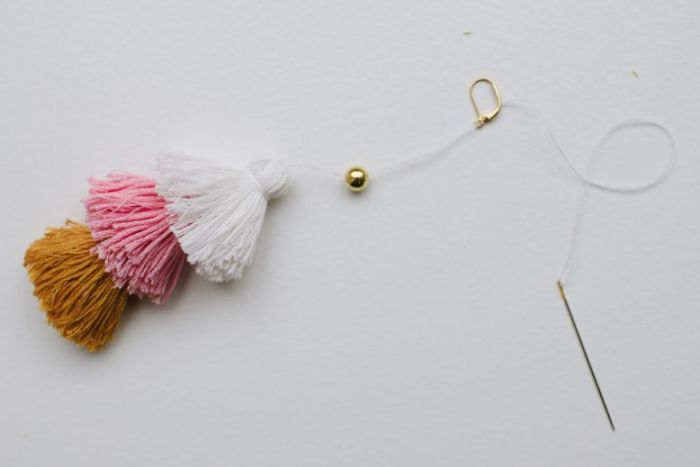
Step 3: Threading the Earrings
Now it’s time to thread your needle and make sure that you tie a knot at the end before you push your needle directly through the bottom of the tassel through the top. Make sure that you pull the thread all of the way through so that you don’t have any excess hanging down at the bottom, and you might find that using embroidery thread for this step might give you a little more stability than traditional stitching thread.
Step 4: Adding the Metal Ball
As soon as you have comfortably strung your tassel, you can then take your metal ball and place it over your needle, stringing it to where it sits comfortably on top of your tassel. You can then string your earring hook as well, making sure that you use your needle and thread to create a couple of stitches to secure them and then you can trim the ends off.
Repeat this process for your second earring and you should have two pairs of amazing tassel earrings handmade by you to give as a gift to a loved one.
Optional Step for Longer Tassels
If you find that folding the embroidery thread in half gives you too short of a tassel, there is a way to make a longer one. Once you have removed your embroidery thread from its packaging, instead of folding it in half, use the spare piece of thread to create the bulbous tip so that the majority of the thread is hanging. You can then use your scissors to cut the looped end so that you have plenty of length and you can trim them to your desired length.
Final Thoughts
Tassel earrings are a lot easier than you might have thought, even if you’re not the type of person who likes to do arts and crafts. No matter if you’re creating your own jewelry or if you’re making a gift for a friend, these earrings are surely in style right now and are a great way to dress up an ordinary outfit. You’ll also love how all of the materials for the job are affordable and reusable to make more earrings in the future!
Credits:
apairandasparediy.com
makingniceinthemidwest.com
Pin for later