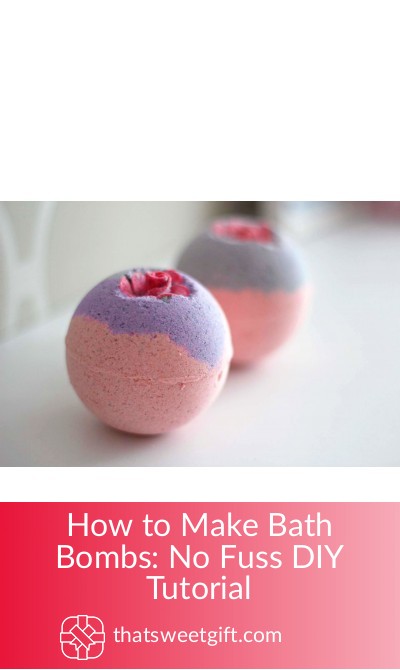
How to Make Bath Bombs: No Fuss DIY Tutorial

There are plenty of different tutorials on how to make bath bombs, but the 3 below are highly recommended for the best smelling ones possible.
There’s nothing quite like taking a relaxing bath at the end of the day. If you are someone who needs a lot of nourishment in your skin, using a regular bubble bath isn’t recommended.
Instead, you should consider making your own bath bombs. Bath bombs are also fantastic gifts for your friends and family members around the holidays.
Tutorial 1: All-Natural Cleanser
The main thing we love about this tutorial is that it uses very basic natural ingredients that you likely already have around the house. As with anything that you use on your skin, the more basic the ingredients, the more nourishing they will be.
This easy to follow tutorial is perfect for the whole family and anyone who loves handmade DIY projects. The best part? You can make an assortment of scents based on your preferences!
What You’ll Need
- 8 ounces of baking soda
- 3 ounces of citric acid
- 4 ounces of Epsom salt
- 4 ounces of cornstarch
- 2 tablespoons of oil
- 2 teaspoons of witch hazel
- 1 teaspoon of vanilla extract
- 40 drops of essential oils
- Muffin tins
Directions
✓ Take all of your dry ingredients and mix them together in a large bowl until they are completely combined.
✓ Taking a small bowl, combine the vanilla extract, witch hazel, and oil together. Once combined, add in all of your chosen essential oil(s).
✓ Using a few drops at a time, add the wet ingredients into the dry ingredients and mix the mixture using gloves. If you decide to add in dried herbs, you should also combine them at this time.
✓ The ideal consistency of your mixture should be where it holds together without any crumbling. This may require you to add more witch hazel to achieve the perfect consistency.
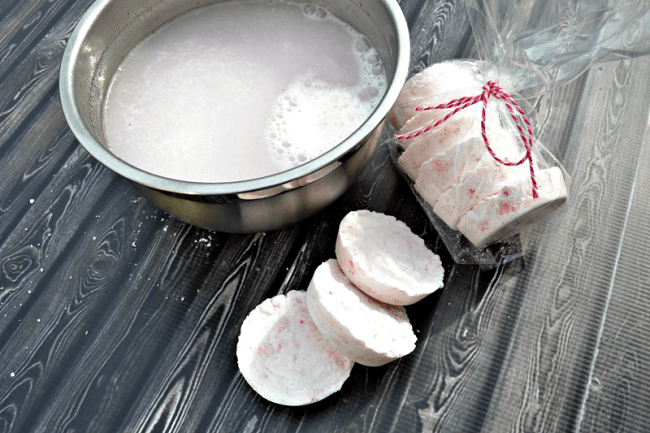
✓ Taking your muffin tins, push the mixture down into each of the molds, making sure you press them as firmly as possible. Allow the mixture to sit for 24 to 48 hours, or until they are hard.
✓ Once they have dried, store the bath bombs in an airtight container and use them for up to 2 weeks.
Tutorial 2: Coconut Oil Bath Bombs
Coconut oil has boomed in popularity amongst DIY enthusiasts around the globe. With many supposed nourishing properties, it helps your skin to retain moisture and feel softer.
This tutorial can also be used to create conditioning sticks that you can use in your hair for a more natural softening agent after shampoo. Similar to the other DIYs on this list, it requires very few natural ingredients that you may already have at home.
What You’ll Need
- ½ cup of citric acid
- 1 cup of baking soda
- ½ cup of Epsom salt
- ½ cup of corn starch
- 3 tablespoons of coconut oil, divided
- Vegetable-based food coloring
- Choice of essential oils
- 1 teaspoon of almond oil
- Bath bomb mold
Directions
✓ Combine all of the ingredients together in a large bowl and make sure they are mixed well. You can then divide the mixture between three smaller bowls.
✓ Melt 1 tablespoon of your coconut oil and add up to three drops of food coloring, stirring the ingredients together. You can then add 1/3 teaspoon of almond oil and up to 10 drops of essential oil.
✓ Pour the wet mixture into one of the dry ingredient bowls, using your hands to mix it together. If you need to adjust the consistency or color, add in more coconut oil and food coloring.
✓ Repeat steps two and three for the other two bowls of dry ingredients. When adding in the food coloring, choose different colors for each bowl.
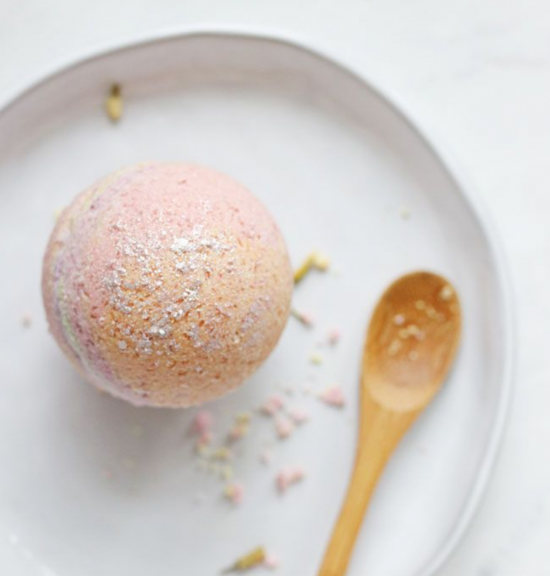
✓ Pack your newly made mixture into your chosen bath bomb molds. As you add in the mixture, layer the different colors on top of one another. You will also want to make sure that you pack the mixture in tightly.
✓ Freeze all of the ingredients together for up to 20 minutes and your bath bombs will be ready to use.
Tutorial 3: DIY Lush Bombs
If you’re a fan of taking baths, you’ve likely heard of the store Lush. They have an extensive collection of many all-natural shower, bath, and beauty products designed to remedy various skin conditions.
They are also known to be quite expensive, which is why we love this DIY. Instead of buying bath bombs that smell absolutely divine, you can make your very own with the use of this tutorial.
What You’ll Need
- 1 cup of baking soda
- ¼ cup of cream of tartar
- ½ cup of cornstarch
- ½ cup of Epsom salt
- 2 teaspoons of essential oil
- 2 ½ tablespoons of coconut oil
- A few drops of food coloring
- Silicone bath bomb mold
- 1 tablespoon of water
Directions
✓ Combine all of your dry ingredients together using a whisk. Ideally, you should use a glass bowl; the bowl will help combine all of the ingredients together perfectly.
✓ In a smaller glass bowl, combine the essential oils, coconut oil, and food coloring with another whisk. You might find it’s difficult to emulsify the food coloring, however, when it is added to the dry ingredients, you’ll be able to tell its true color.
✓ Drizzle the wet ingredients into the dry ingredients slowly while mixing at the same time. Mix thoroughly until the consistency resembles wet sand. You should be able to form shapes with the mixture without it crumbling apart.
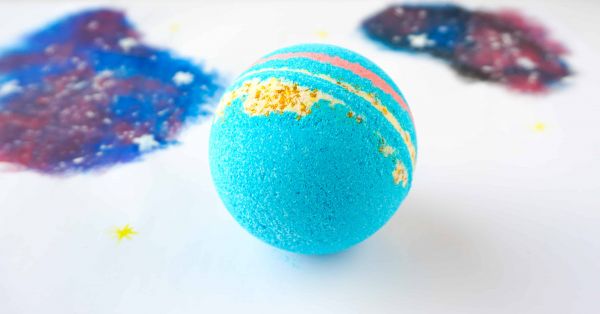
✓ Press the mixture together into your molds, packing them tightly. Continue pushing and adding more of the mixture until the molds are slightly overflowing.
✓ Set the molds in the fridge for three to four hours and once they appear to be dried out, remove them from the molds and allow them to sit overnight before using.
Now That You Know How to Make Bath Bombs…
There are plenty of DIYs that you can use to make your own bath bombs, however, these are our favorites as they are all natural, include very minimal ingredients, and are easy to master. After your first use, you’ll immediately notice that your skin will feel smoother and more nourished.
With the ability to take luxurious baths at home with things you already have in the kitchen, you’ll have a fun project to do and the ability to make natural skin cleansing products which can also be gifted to any member of your family or friends!
If you like the idea of this little DIY project, we recommend you also take a look at our DIY lip balm tutorial!
Pin for later