How to Make a Paracord Bracelet/Bonus: 10 Options You Can Buy for Cheap!

At first, when you hear the term “bracelet,” you may automatically assume a piece of jewelry. However, learning how to make a paracord bracelet is a survival skill that you need to learn.
The ability to create a phenomenally designed bracelet that has just as much purpose in survival situations is pretty awesome.
We’ve collected all of our favorite paracord bracelet instructions so that you can try your hands at making your own. Also, we’ve made a list of our preferred options that you can buy instead of trying to make your own.
The Best Paracord Tutorials
When learning how to make a paracord bracelet, it should be relatively simple, especially if you choose a design that is easy for beginners. These are our three favorite tutorials that anyone can follow, as long as you have the right materials.
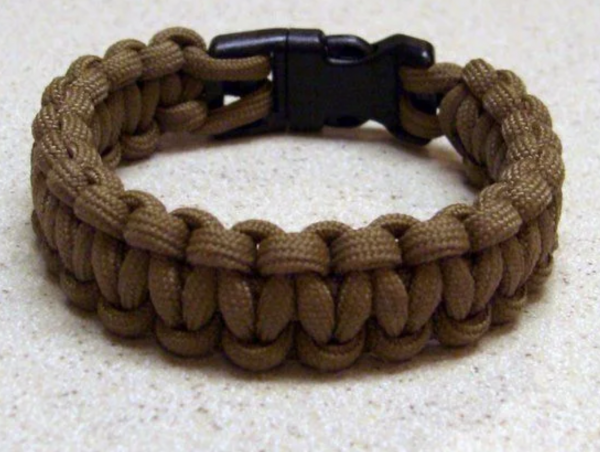
1. Basic Paracord Bracelet
All in all, this bracelet is rather impressive when worn, and it’s certainly not the most basic design we’ve come across.
It’s the perfect combination of user-friendly steps and aesthetics that help to make this a unique survival tool. The below items are required for a six-inch bracelet.
✓ What You’ll Need
- Small shackle
- 12 feet of paracord
✓ Instructions
► First, you will want to measure the width of your wrist, as this may change the amount of paracord you will need. As mentioned, when working with 12 feet of cord, you’ll be able to make a six-inch bracelet.
► Lengthen the entire bundle of cord and then find the middle point. In the middle, fold the rope in half so that both ends are even.
You can then bring the behind cord through the shackle and start to thread the other two ends of the rope through the loop, which will create a girth hitch.
► Fold the cord at the length of the bracelet you want to make and fold all of the other strings to correspond with your smaller measured string.
You can then make your first two knots at the end of the bracelet by taking the longer cord and wrapping it behind the other strings.
You’ll want to make a small loop and then thread the long rope through the loop, pulling it snug. You can then repeat this process with the cord on the left.
► Once step three is complete, pull both of the long cords as tight as possible while pushing the knots upwards closer to the shackle. This step will create your base so you can begin knotting the rest of the cord.
► For your knots, you’re going to want to take the right side cord and wrap it over and under the middle cords so that you create a small-sized loop.
You can then thread the right cord through the loop you’ve created. Once again, pull the string as tight as possible, and knot it upwards towards the shackle. Repeat these steps on the left side of the bracelet.
► The next step is to retake the right side string and wrap it behind the middle cords first, then loop them around to the front.
Thread the right-side string from front to back and pull tightly, repeating these steps on the left side. Continue steps five and six until you have approximately an inch or less of cords remaining.
► Taking the end of the bracelet, fold the right side string onto itself and then create a slipknot. Repeat this step on the left side as well.
Once two slipknots are created, thread the middle cords through the slipknot on the right, pulling the end tight. You can then thread the middle loops through the left loop and tighten again.
► Take the time to push all of your knots upwards and unhook the shackle from its anchor. Cut off any excess string and then burn them gently to prevent fraying.
Take the remaining loops and thread them through the shackle, finishing your paracord bracelet.
2. Chain Sinnet Paracord Bracelet
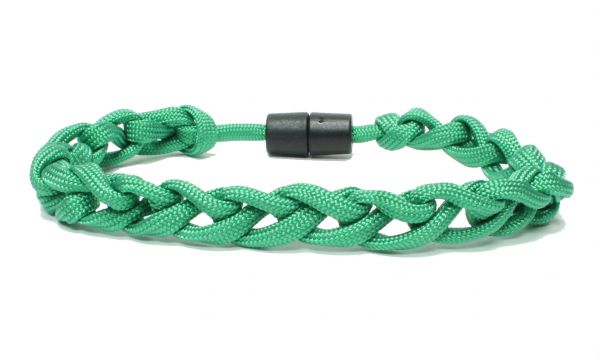
What we love the most about this tutorial is that it’s likely the most basic paracord bracelet we’ve seen. However, even though it is easy to put together, it still looks relatively professional when worn.
Also, it is equally as useful to have at your disposal as any other paracord bracelet on this list. We highly recommend this tutorial for beginners.
✓ What You’ll Need
- Five feet of 550 paracord
- Pop barrel connector
✓ Instructions
► Similar to the previous paracord instructions, the first thing you’ll want to do is cut your paracord to your desired length. As an example, five feet of paracord with this tutorial will create a ten-inch bracelet.
Ideally, you’ll want to measure your wrist to determine the exact amount of cord you’ll need.
► Once measured, you’ll want to take your paracord and fold it in half, creating a string on the left and right. Move the right string on top of the right by crossing it over and then take the same string and bring it under the loop you just created.
► Pull the right string through the loop and then tighten it by pulling on the left rope. Repeat this step by taking the right-side string and bring it behind the new loop you just created, pulling it through again.
Continually tighten the knots as they are created, and you’ve “braided” the entire length of the bracelet you want to make.
► When you have reached your last loop, pull the right cord all of the ways through, continuing to pull it tighter and then knot it off. At this point, you can then affix the pop barrel connector as desired.
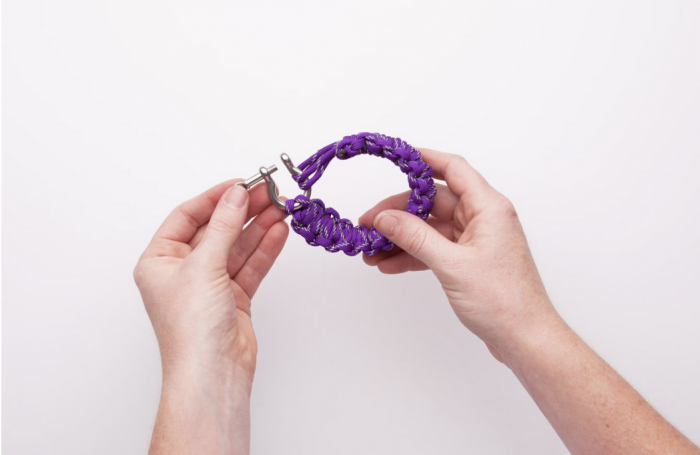
3. Side Release Buckle Paracord Bracelet
This project is by far one of the more difficult paracord tutorials we have found; however, it is also one of the most useful.
This side release buckle bracelet is highly recommended for survival situations, and it looks similar to ones you’d buy in-store.
Once you get a little more experience learning how to make a paracord bracelet, these instructions will be much easier to follow. With this tutorial, one foot of cord accounts for one inch of bracelet length.
✓ What You’ll Need
- 10 feet of paracord
- Tape measure
- Ruler
- Scissors
- Lighter
- Side release buckle
✓ Instructions
► As with the other paracord bracelet instructions on this list, you’re first going to want to measure your wrist. Remember, one foot of cord accounts for one inch of wrist space using this tutorial.
For this step, you can wrap your paracord around your wrist until it is at a comfortable tightness. Mark where the ends meet and then use your tape measure to measure the necessary length.
► Next, you’re going to hold the ends of the bracelet together to find the middle. Take the middle section and thread it through the buckle, pulling the cord ends through so that the loop is tight against the buckle.
► Separate the buckle and then pull the other ends of your cord through the other half of the clasp, measuring the length of the bracelet again. Make sure you have an extra inch for an even more comfortable fit.
► We’re now going to start making the knots on the bracelet, and for this tutorial, we’re going to use the Portuguese sinnet. Take the left side cord and put it under the center strands.
You can then take the right side piece of rope and bring it under the left side, over the center strands, and through the loop on the left side. Tighten all of the cords until there is a half-knot made beside the buckle.
► Continue following this step alternating between the right and left side cords until you’ve filled the entire space between the ends of your buckles. Make sure each knot is equally as tight.
► Taking your scissors, cut any extra cord that is close to the last knot. We also recommend using a lighter to melt the end to prevent fraying. At this point, your paracord bracelet should be fully completed and ready to be worn.
10 Cheap Paracord Bracelet Options
1. A2S Protection Paracord Bracelet
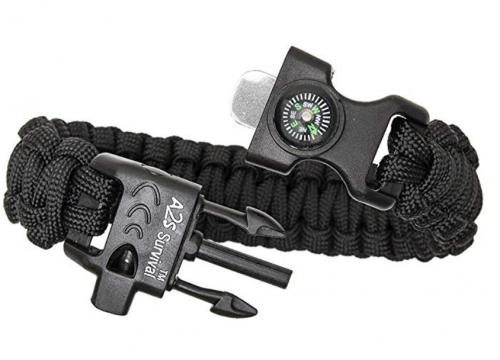
Available in a pack of two, these are equipped with everything you need. In the bracelet, there is a compass, emergency knife, fire starter, fire scrapper, and whistle.
They are also available in an assortment of colors and arrive with instructions. There are four fixed sizes to choose from, making it the perfect fit for everyone.
2. The Friendly Swede Paracord Bracelets
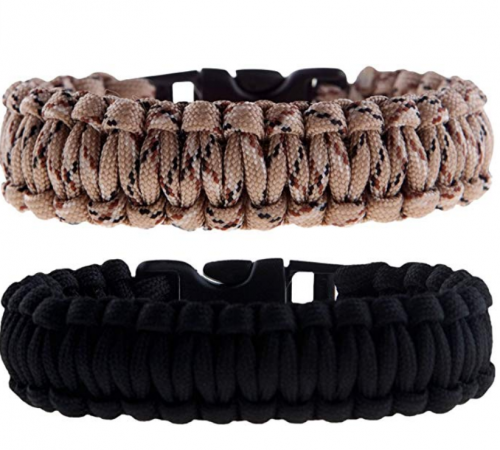
In your order, you will receive two bracelets made from 550-paracord that are available in two different sizes. When wet, the polyester material offers superior durability, making them ideal for survival situations.
They don’t have any fancy bells and whistles, which is perfect for someone looking for essential paracord bracelets.
3. The Friendly Swede Fish Tail Paracord Bracelets
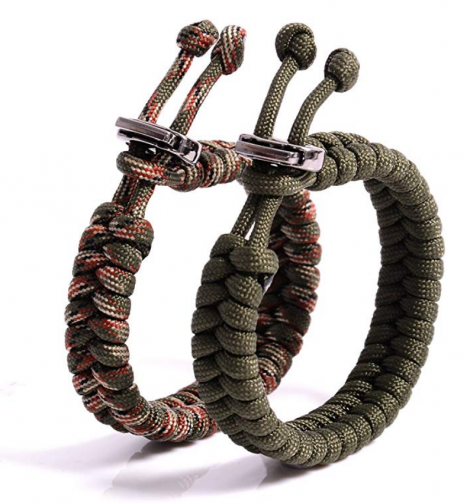
With a different design than the previous bracelets, these fishtailoptions are adjustable and available in a set of two.
You can also disassemble the bracelets easily, giving you up to 5.25 feet of paracord for securing cargo or strapping poles together.
4. Squaregarden Paracord Bracelet
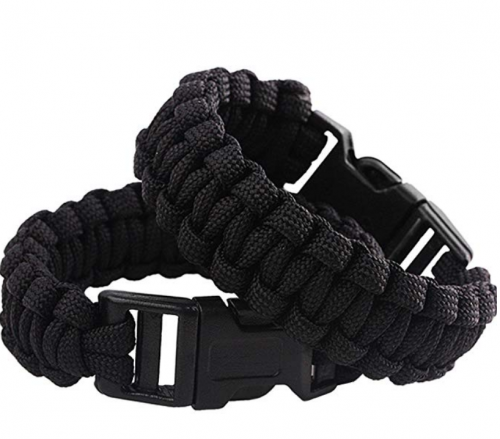
With over 20 different colors to choose from, these paracord survival bracelets are crafted out of high-quality materials, including the connecting buckle.
According to the manufacturer, they are handcrafted and are easily untied and retied. Similar to the previous bracelets, these two are also made out of polyester.
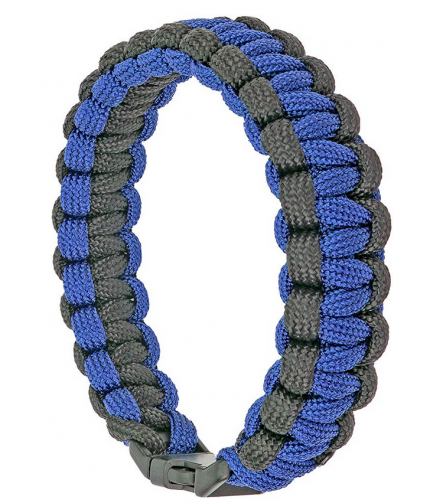
5. Shop Zoombie Bracelet
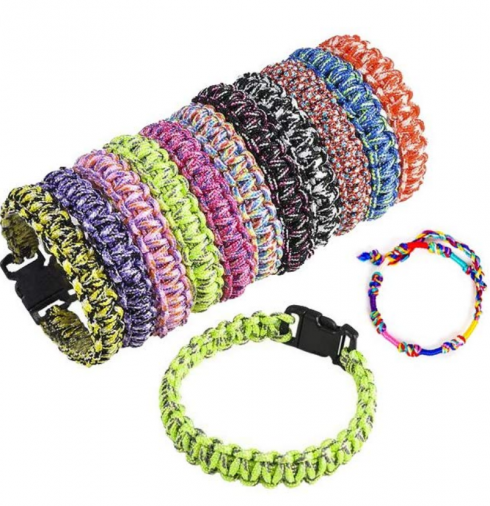
If you’re in the market for multiple bracelets that you can give to friends and family, this pack of 12 paracord bracelets has everything you need.
They’re great as party favors or even best friend bracelets. Each one is designed to be just over eight inches and feature two-tone color schemes.
With the plastic locking closure, they look very similar to the high-end options you’ll find.
6. Legion Co. Paracord Bracelet
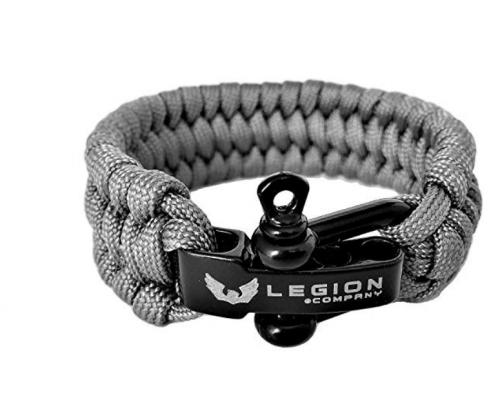
Unlike the others on this list, this bracelet is only available in a single pack; however, it is designed for superior durability and longevity.
It is also one of the more useful paracord bracelets, making it ideal for survival situations and hunting gear. Crafted from premium 550 paracord with a forged U-type shackle connection, it has plenty of benefits.
You’ll love how you can adjust the bracelet in three different ways to accommodate various wrist sizes.
A couple of other notable features include a stainless steel shackle that is entirely nickel-free. It also arrives in premium packaging, and all of the close ends are burned and sealed for durability.
7. RNS Star Bracelet
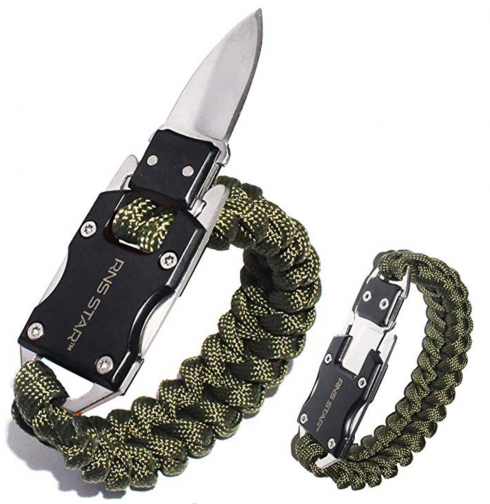
A unique feature of this bracelet is its hidden tactical knife. The knife helps to make sure you’re prepared for any situation. Also, the paracord can secure gear up to 500 pounds.
You can adjust the bracelets between six and eight inches, which makes it comfortable for anyone to wear, and there are eight color variations to choose from.
8. RNS Star Paracord Survival Bracelet
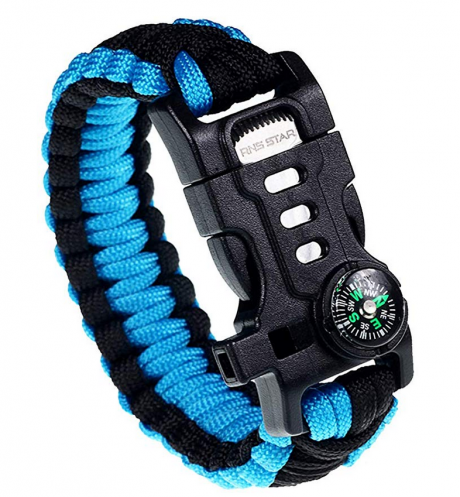
What you’ll find with this variation of the RNS Star bracelet is that it comes equipped with more survival gear. This four-in-one bracelet is fitted with a compass, emergency whistle, fire starter, and a small knife.
Highly recommended for outdoors enthusiasts, it offers just over three meters of paracord when unraveled, and it is also completely waterproof.
9. LeMotech Paracord Bracelet
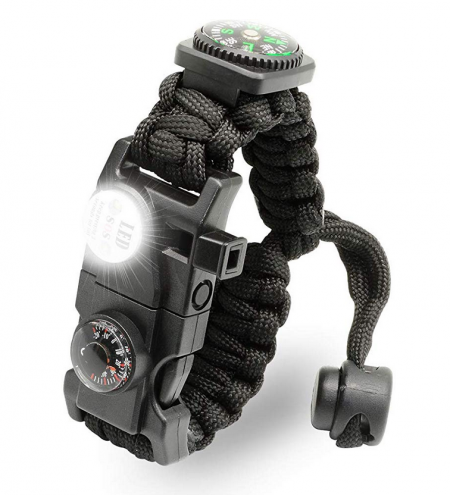
This model is by far one of the most impressive on this list, as it is equipped with multiple features you’re sure to put to good use.
On the bracelet, you will find a compass, SOS LED light, firestarter, tool card, whistle, T-shaped knife, and a thermometer.
You’ll also have over 10 feet of paracord available to use when the bracelet is unraveled, compared to three or four feet.
10. Southern Homewares Paracord Bracelet
Instead of learning how to make a paracord bracelet, this design is quite simple and easy to wear daily. It excels in both function and style as it is a two-tone color design and also has eight feet of paracord when it’s unraveled.
Although it doesn’t have multiple survival tools, it is essential and useful in many situations.
Final Thoughts
When you start looking into paracord bracelet instructions to learn how to make a paracord bracelet, we highly recommend the tutorials above.
They are relatively easy to follow and give you the ability to DIY your bracelet.
However, if you prefer to buy one instead, the ten styles we found are fantastic for camping, hunting, hiking, and backpacking.
Pin for later