DIY Gift Tutorial: How To Make Home-Made Soap
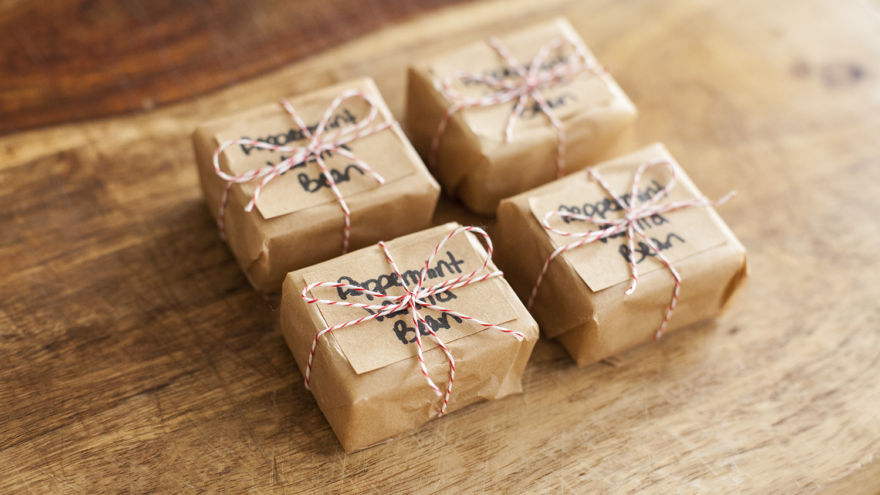
Soapmaking is everything you make it. Also, making a home-made soap is a great idea when wanting an original gift for a friend, someone who appreciates home-made products! It can be simple or challenging and the control of how easy or complicated you want to make it is completely in your hands. You can change scents and ingredients to cater to your own individual preferences. While being able to play around with making different types of soap takes practice, it can be a lot of fun! Remember that the key to good recipes is consistency, especially when weighing out ingredients. Usually they are measured in oz or grams, but in this instructional the ingredients will be measured in cups and portions of cups. This can help with consistency which makes your soap better!
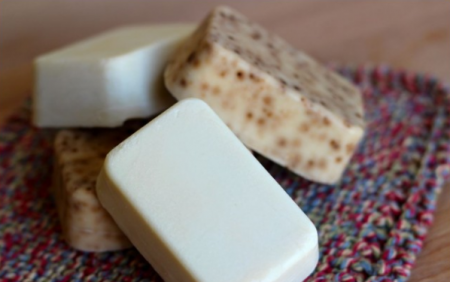
Please be careful using lye!
Crystallized lye (or 100% sodium hydroxide) is necessary to make soap and cannot be substituted out. We repeat, it must be in CRYSTAL form. Do not use liquid lye or drain cleaners (i.e. Drano) as substitutes. Using substitutes can make your measurements wrong. Some of the substitutes even have pieces of metal in them, and obviously these are not good.
Now, lye is what is considered caustic. This means it needs to be used carefully so it does not burn your skin or put holes in your clothes. So, always wear gloves and be careful when handling it. When water and lye mix, the solution will heat up and even fume for about a minute. If you feel your throat constrict or like you are choking, don’t panic, it will go away! This is not a permanent sensation. Give it a few minutes to subside.
It is incredibly important always to add lye to water, as opposed to adding water to lye. Immediately start stirring. If you do not start stirring right away the lye can clump and then possibly cause an explosion.
Don’t worry though, the lye reacts with the oils used in the process so it is not actually in your final soap.
What you will need:
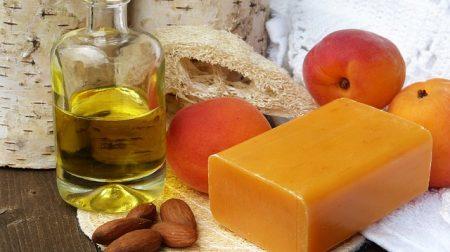
While you will be using kitchen equipment, do not share the equipment used to make soap and used for cooking. Keep them separate, just as an extra precaution, even though you may clean very well. The best mixing bowls to use are enamel, stainless steel, or tempered glass. Aluminum and copper will react with the lye and plastic could melt so do not use those types of bowls.
Silicone spoons are perfect for soap making. Styrene plastic will also work. There are specific soap molds; however silicone baking pans are also great and easy to peel the mold off of. Some additional equipment to keep on hand is: a pint and quart canning jar, newspaper, an old towel, and a stainless steel thermometer (that reads between 90 and 200 degrees Fahrenheit). Also anything you want to add to your soap.
Things to add:
The possibilities are endless when it comes to additives for soap, literally. But, let’s start with the basics before we get to crazy!
Herbs: Dried herbs are perfect for adding into soap. You will need about a quarter of a cup of the dried plant for each batch this size. If you want a calming smell, lavender and chamomile are great. Or if you want a crisp clean smell, try lemongrass or oakmoss.
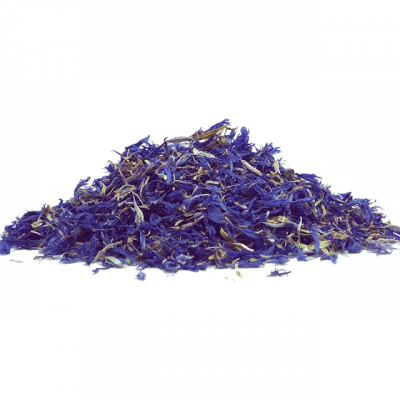
Essential Oils: These are awesome in soap and come from all parts of the plant including roots, seeds, and flowers. Use about a teaspoon or 15-20 drops to make a batch like this.
Colors: Now the fun part, adding color to your soap! Using natural things to color your soap is a lot of fun and they will hold up well, unlike food coloring. Beware that there might be some color change, so don’t be surprised if they are a little different from when you started. Here are some fun ideas:
- Brown: cinnamon or cocoa powder
- Green: chlorophyll
- Yellow: turmeric
- Orange: beet root
Other Additives such as:
- Aloe Vera Gel
- Dry Milk Powder
- Salt
- Ground Coffee
- Oatmeal
- Clays
- Cornmeal
Be creative!
Ingredients:
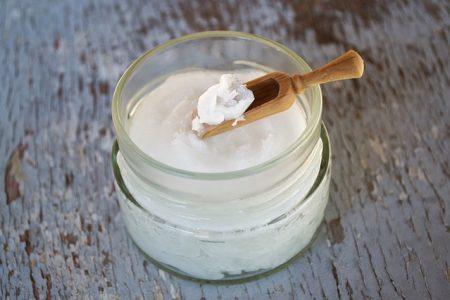
- ⅔ cup coconut oil (helps with getting lather)
- ⅔ cup olive oil (helps harden the bar)
- ⅔ cup liquid oil (almond oil, grapeseed, sunflower, or safflower oil are great to use)
- ¼ cup lye (100% sodium hydroxide)
- ¾ cup cool water (distilled or purified)
Method:
1. First, place the newspaper over your entire work area and put your gloves and mask on. Use your quart canning jar to measure ¾ cup of cool water. Get your spoon ready because as soon as you add the lye you must start mixing. Measure ¼ cup of lye and slowly pour it into the cool water. Start stirring as you are pouring. Be careful to separate yourself a little bit while stirring so as not to breathe in too many of the fumes. You can go to step two once the water clears. You can stop mixing at this point.
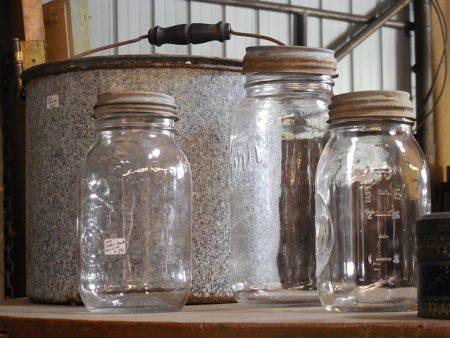
2. Measure out the coconut oil, olive oil, and the third oil of your choice and put them together into the pint jar. Put them in the microwave for about a minute. You can also put the whole jar into a pan of water. Either way, your oils should end at about 120 degrees Fahrenheit. Also check the temperature of your lye and water mixture. It should be about the same. Wait until both mixtures are at a temperature between 95 and 105 degrees Fahrenheit. Do not get too antsy or miss your range, getting this part right can make or break a great soap.
3. Once the oils and lye are at the correct temperatures, pour the oils into the mixing bowl. Carefully and SLOWLY add the lye while simultaneously stirring. Mix it with the spoon for five minutes, making sure the lye gets in contact with all of the oil. Once you hit five minutes, you either need to keep stirring or switch to an immersion blender. The soap will start to thicken and become lighter. Your final product should look and have the consistency of vanilla pudding, this is called trace.
4. Now it is time to add your herbs, essential oils, and/or any other additions. Add them into the mixing bowl and stir until it is extremely well mixed. Put your soap mixture into the molds. Cover with plastic wrap and then wrap that in the old towel. This jumpstarts a process called saponification which is when the ingredients start to become actual soap.
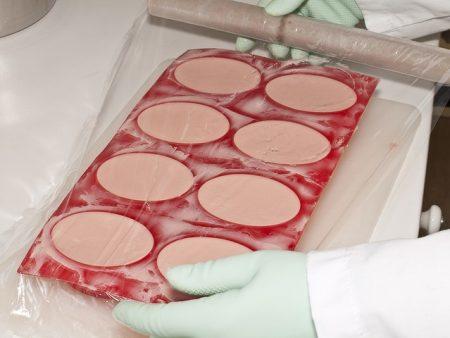
5. Leave your soap for 24 hours. You want your soap to be cold and firm so if it is still soft and warm, leave it for another 12-24 hours or until it is cold and firm. Once it is cold and firm take it out of the mold and put it on a baking rack or parchment paper. If you do not have molds but used a loaf pan, this is where you cut it into bars. Leave the soap cure for approximately four weeks. Turn it over once a week so all sides have access to the air (unless you are using a baking rack which does this naturally).
6. After four weeks, when the soap is cured, wrap it in wax paper or put it in a container that is airtight.
Cleaning Process:
Clean everything the lye has touched. In order to neutralize the lye, or make it not caustic anymore, add white vinegar before washing the equipment. For your mixing bowls or molds, let them sit for a couple of days to let the lye and fat mixture turn to soap. Then just rinse and clean it in hot water!
Once your soap is ready, it wil make for a perfect DIY gift for any occasion!
Source: diynaturals.com
Pin for later
